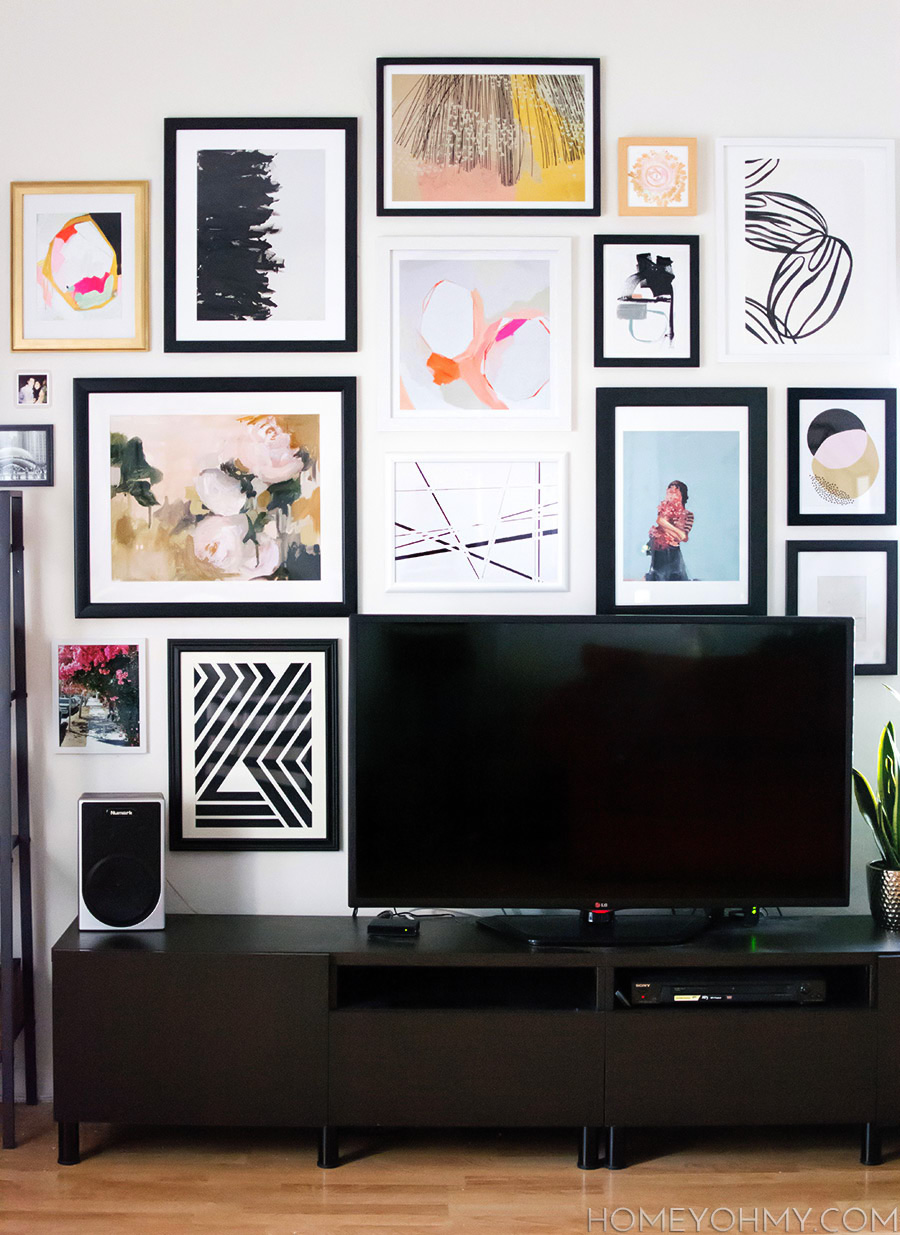
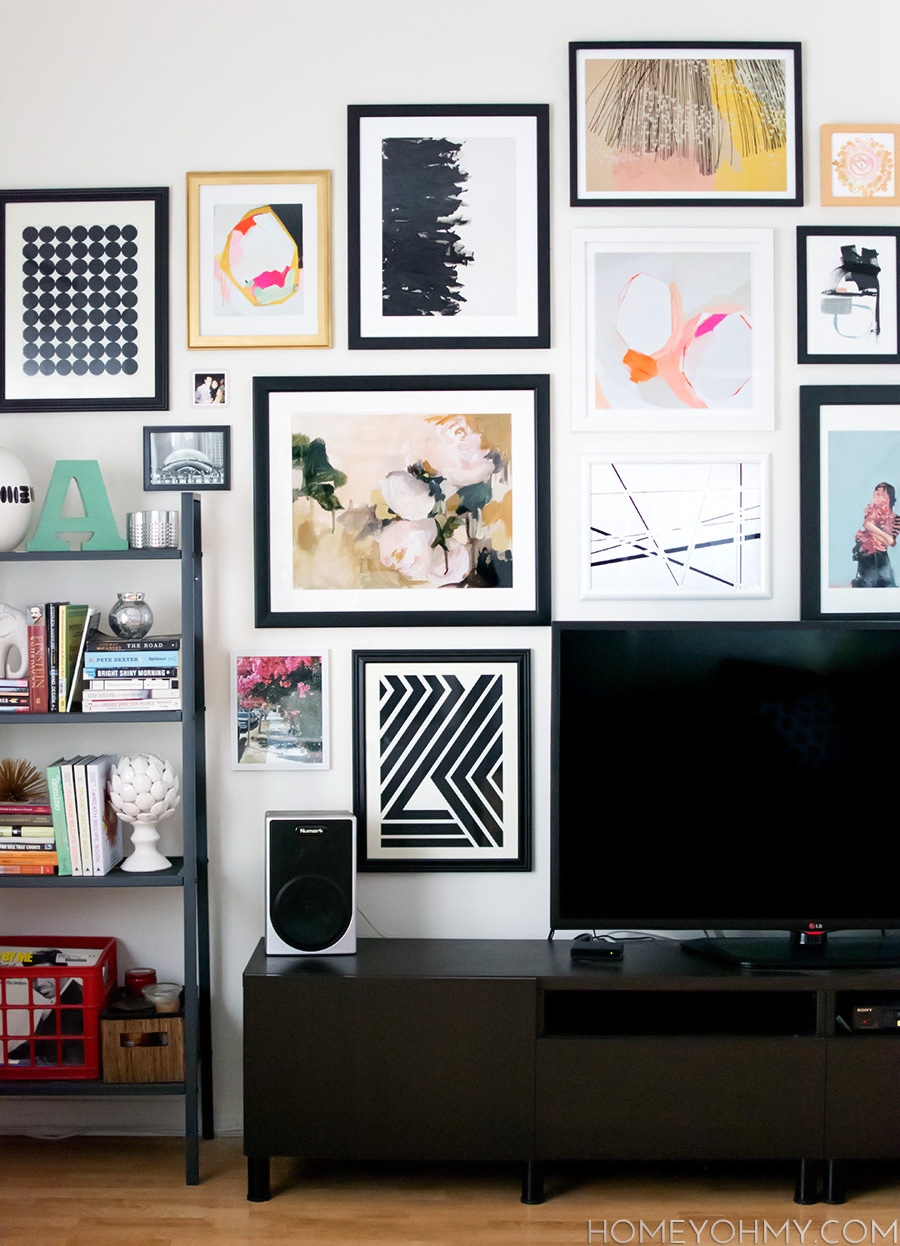
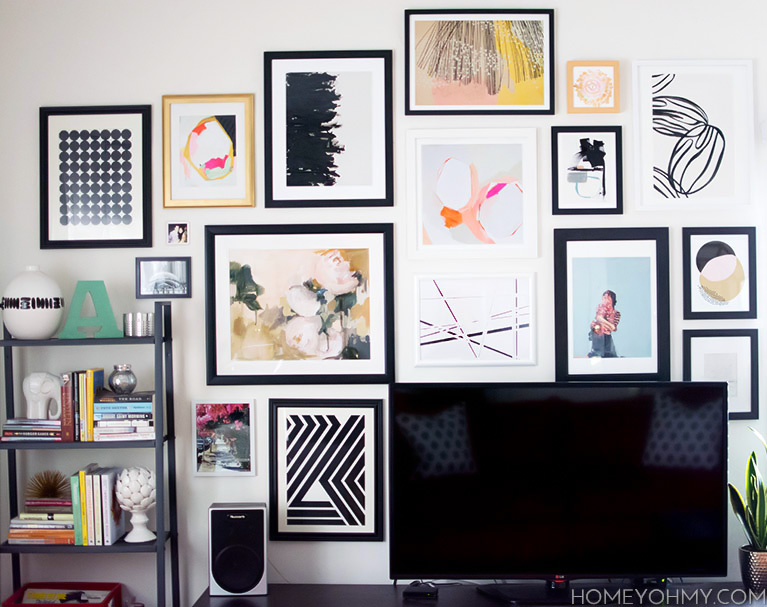
Remember that gallery wall around my TV that I kept talking about for a while and then stopped talking about it for a while… it’s finally here!!! With it, I’m sharing everything I learned about planning and hanging an art gallery, because I realized… it’s a lot more challenging than I thought.
This is coming from starting with nothing and wanting to create something that looked both collected and edited. After a year and a half of believing I’d pick up art organically along the way, zero progress was made with that plan, so I changed gears and started pro-actively planning for this wall.
I’ve divided this post up into sections- how I planned, picked the art, framed, and hung everything up. If you’re not interested in all that and just want to know about sources, that’s all shared at the end!
Let’s get right to it.
PLANNING
By far the most time-consuming part of this project was picking the art. While art is a very personal thing and something everyone should trust their guts with, I have a few tips on what might help get you there:
- Study gallery walls and take note of what you like about them– Things like the art mediums, colors, frames, spacing, mats, all are helpful to consider when making decisions on art and the arrangement of the gallery. I referred to my wall decorating Pinterest board a lot for ideas and inspiration.
- Pin all the art you’re considering onto an exclusive Pinterest board– This really helped give me a good idea of how all my picks looked together, and from there I could narrow it down visually.
- Add personal elements- I added a couple photos that I took myself, some just printed from my phone, and I love how they’re like little nuggets of extra personality. My favorite is the one of my boyfriend hiding behind a bush (yea), which I had shared a while ago on Instagram.
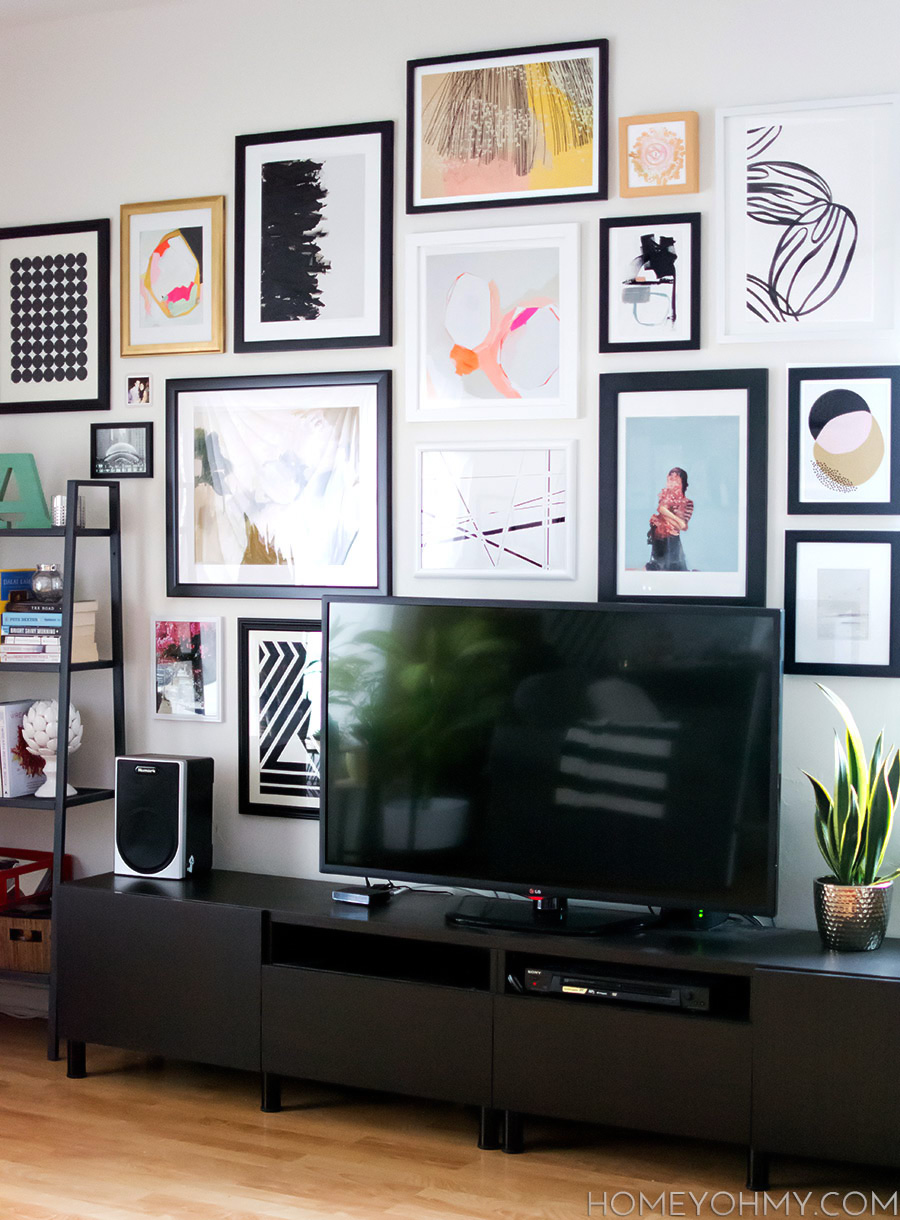
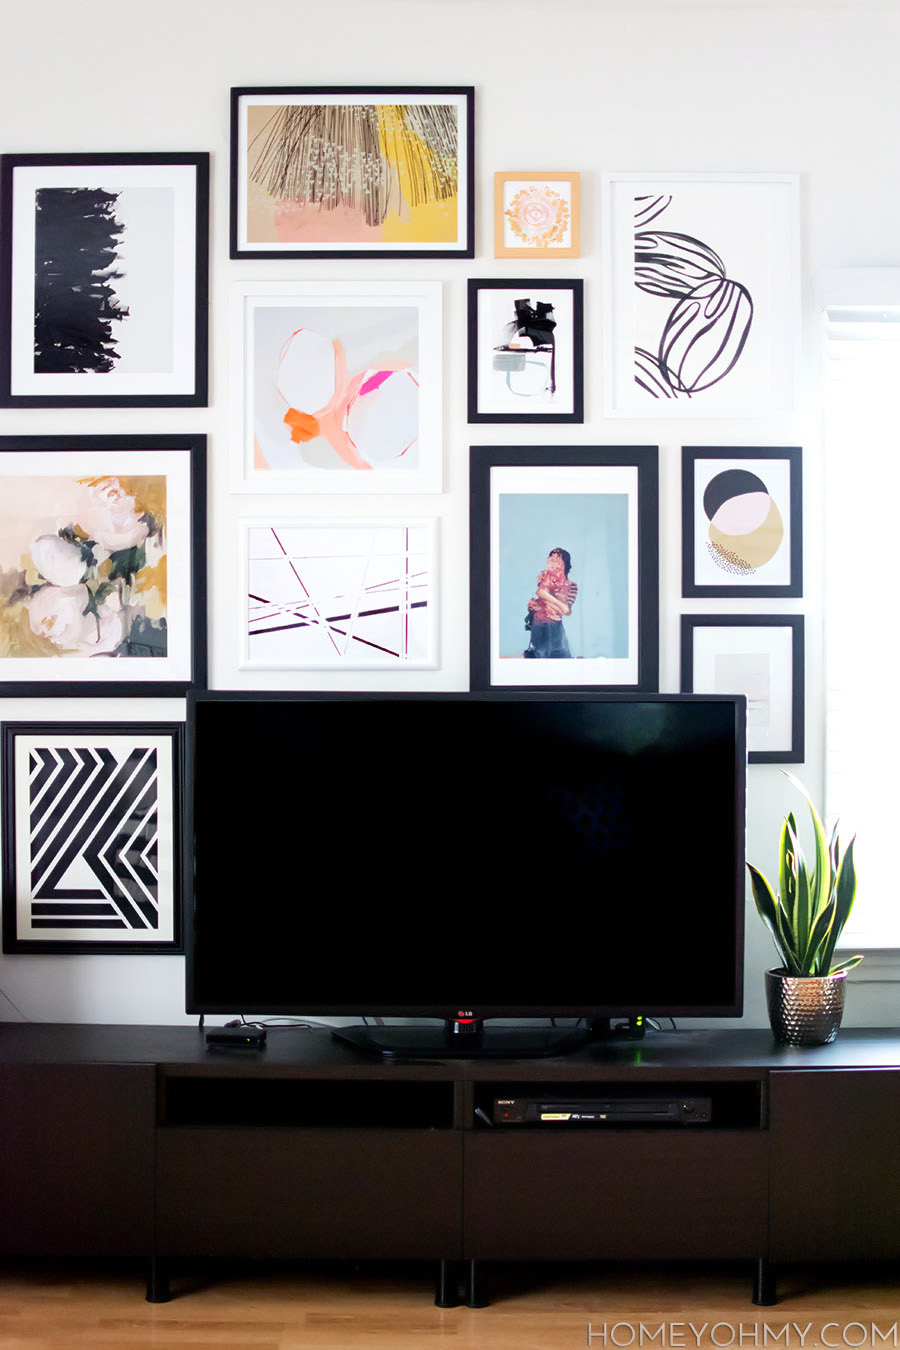
- Pick art in varying sizes– I had planned on only having art larger than 11″, but when it came time to hang things up, it was clear that I needed smaller pieces to help fill in some gaps in my arrangement, which brings us to the next point:
- Have more art than you think you’ll need– There were about six pieces that didn’t make it onto this wall, and six pieces that I hadn’t initially planned on that are now a part of this gallery. Having options to switch things out when something just wasn’t fitting in as I hoped was instrumental for preventing me from having a mental breakdown. I also now have extra art to put up elsewhere, which I consider a plus!
- Don’t overthink it– Somewhere I read advice to pick art you know you’ll love at least five years from now, and I think this really messed me up at first. That’s a lot of pressure, and something that isn’t entirely straightforward to predict. Once I let go of this idea, it became a lot easier to just listen to my heart. Pieces that I love a lot right now are good enough for me!
FRAMING
I do see the value in custom framing, especially for something valuable or sentimental, or if you have a very specific vision for how you want to display your art. For me though, considering this was a large wall to fill and I’d have more than 10 pieces of art, custom framing was going to take a lot more than I wanted to spend, so my secret was this: Michaels. I think a lot of us have that same secret.
The majority of my frames are from Michaels, and they’re pretty affordable when on sale, which seems to be all the time. I also got a few from Target’s Room Essentials line, which I love their frames for being on the thinner side. I worked with what I could find in the following ways:
- Spray paint– I came across a frame in the perfect size, but it was only available in black. I wanted it to be white, so I spray painted it white. Magic. Spray paint is the way to go for that perfect frame in the wrong color.
- Customize photo mats– For those awkwardly sized art prints, I picked a larger frame with a mat that was slightly smaller than the art, then customized the mat size with this tutorial I shared not too long ago.
HANGING
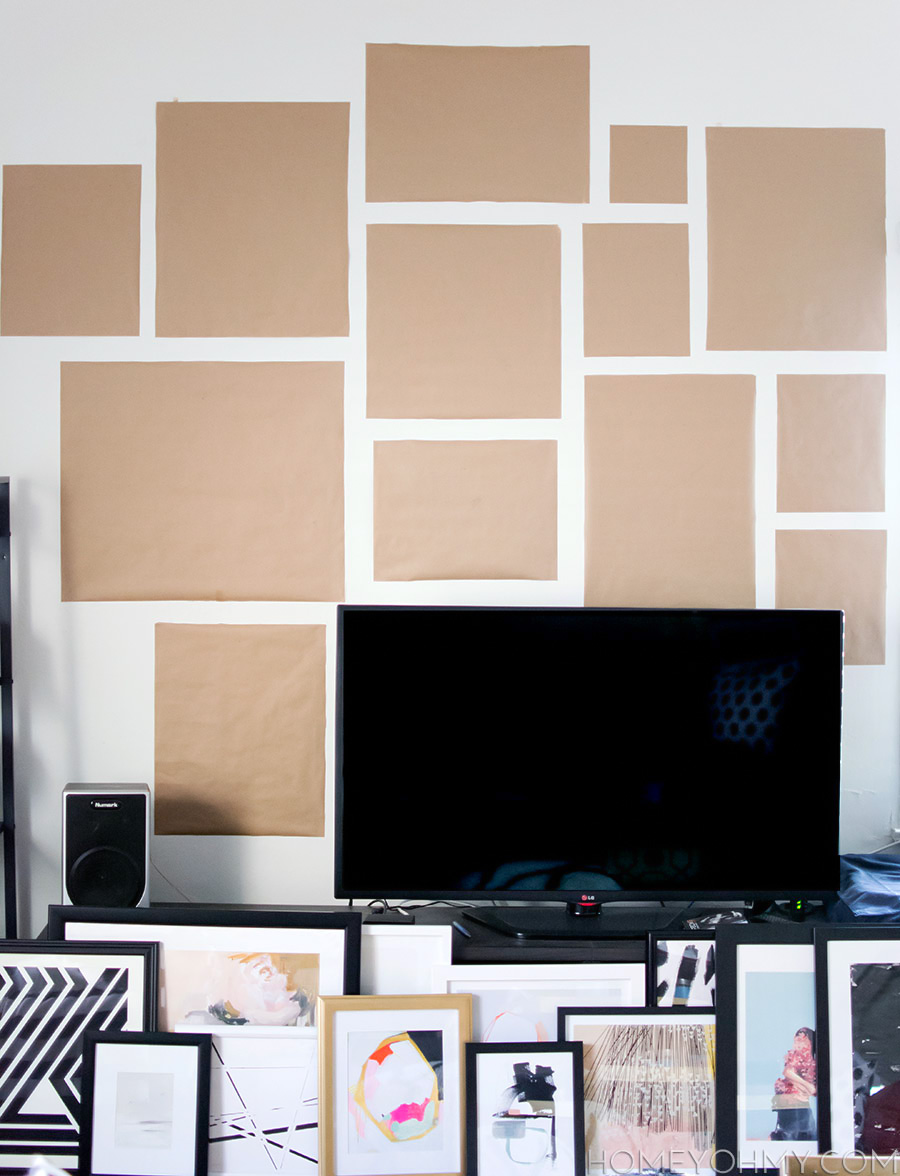
I created a mock-up in photoshop, but it was really difficult trying to size all the pieces to scale and take frames and mats into consideration. It did help me decide on a rough arrangement, but I definitely needed to create a mock-up right on the wall as well.
Using kraft paper is a very popular, tried and true trick. One roll from the Dollar Tree was enough for this wall. I traced each frame onto kraft paper and after cutting it out, lined it up with the back side of the frame to mark in pencil where the hanger was. Once taped to the wall and arranged, all I had to do was hammer a nail into each pencil marking, rip off all the paper, and hang up the art.
SOURCES
Everything from the wall, and some sources for you to browse for even more treasures (I included the sizes of the prints I got, which refers to the paper size, not the printed area)
- DIY Circle Art
- Navy Geo by Britt Bass Turner (10×14)
- Divide by Elaina Sullivan (16×20)
- Peony Study by Pencilbox Shop (16×20)
- Wild Stripes by RK // Design (13×18)
- Aurora by Misato Suzuki (14×20)
- Warm Geos by Britt Bass Turner (16×16)
- Noose by Elaina Sullivan (16×20)
- Golden Field by Mira Amir (8×8)
- Untitled 4 by Jaime Derringer (8.5×11)
- So Much by Clare Elsaesser (11×14)
- Almond Milk by Carolyn MacLaren (16×20)
- Gold, Pink, & Black Overlapping Circles by Britt Castellano (8.5×11)
This is for sure the best decorating decision I’ve made with my apartment yet. It’s been months of art laying around on the floor waiting to be hung, and it feels SO good to finally see it all come together. My favorite activity now is sitting on my couch and staring at my gallery wall. Can’t even watch TV because I’m too distracted in the best way possible.
If I missed anything, or you have any questions, leave it in the comments below and I’ll for sure get back to you!
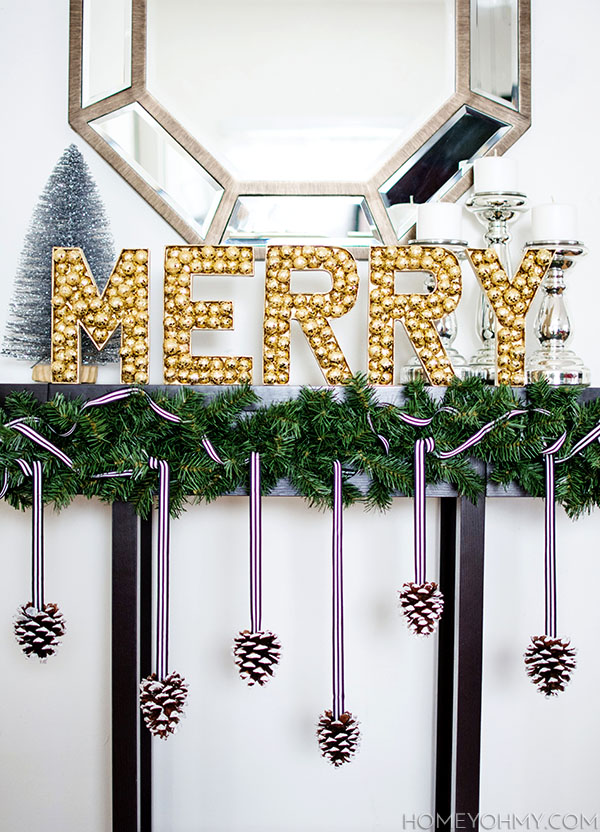
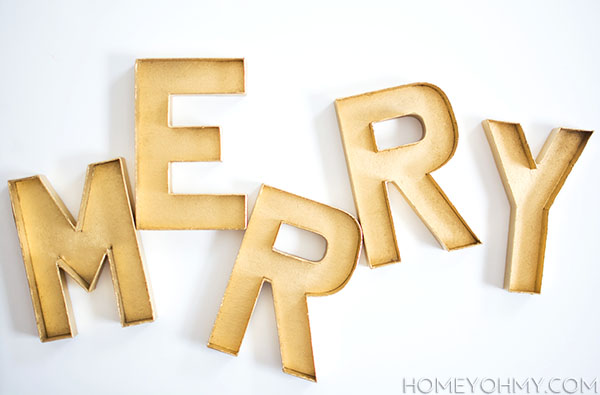
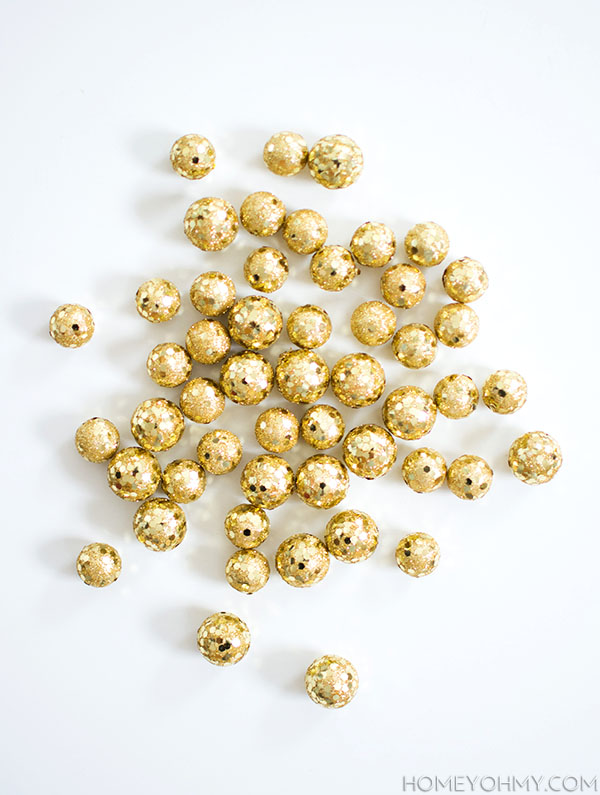 The magic of this project is this decorative gold filler, which I found at Michaels. The way they sparkle and catch the light is gorgeous, and a bit reminiscent of the way marquee signs glow and shine.
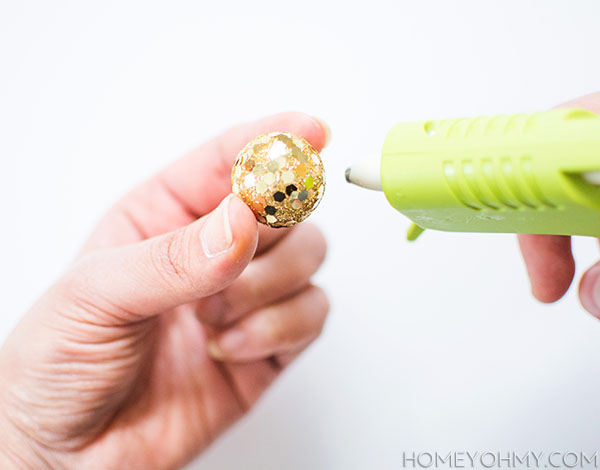 I applied a small dab of hot glue to each ball and stuck them inside the letters.
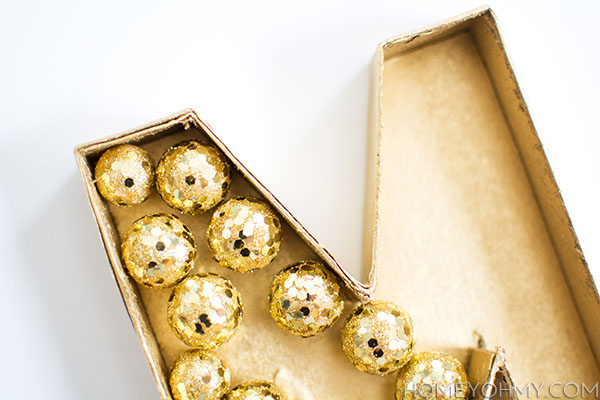 I first glued a bottom layer of the filler before adding some on top.
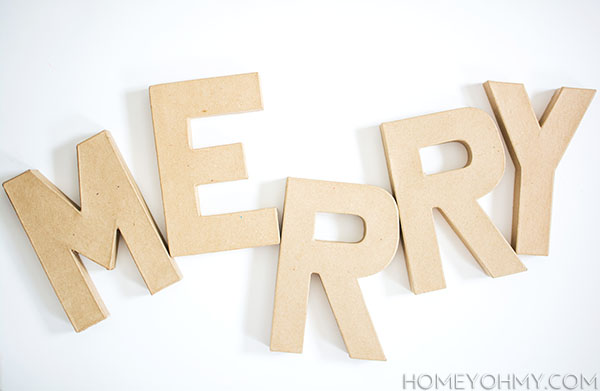
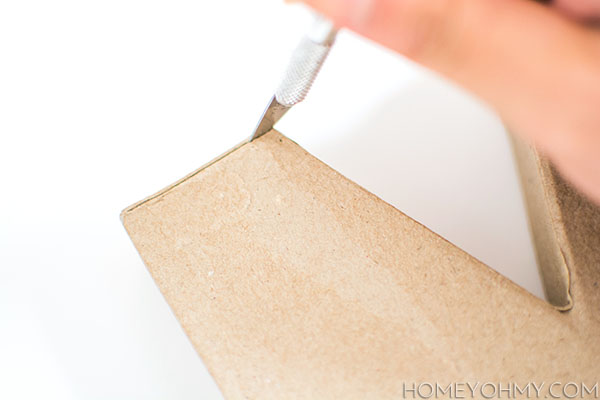
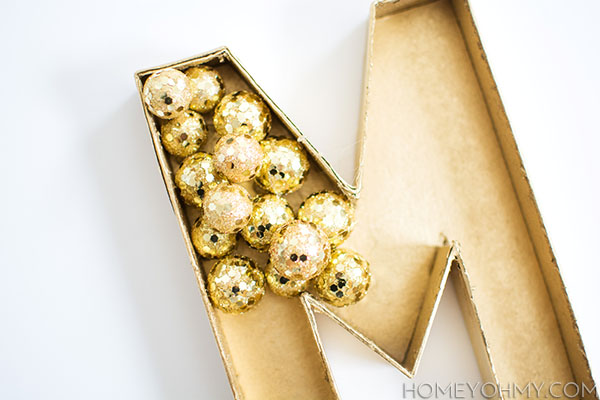 Pretty simple process, right? Especially when considering the huge impact a little cutting, painting, and gluing can make.
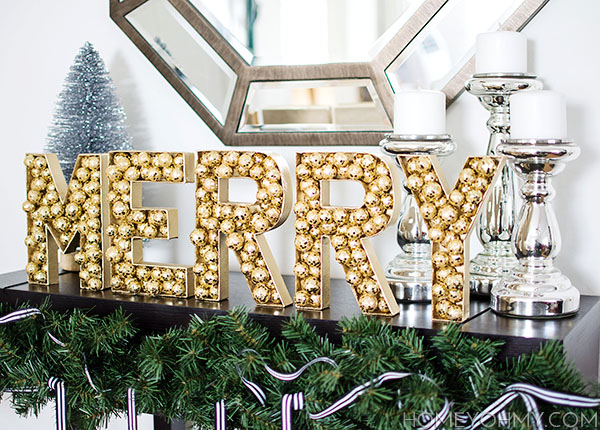
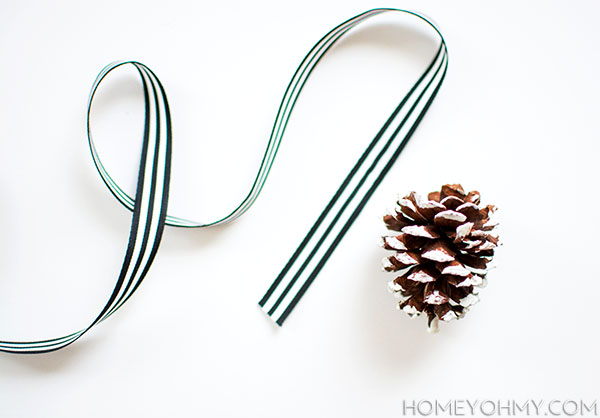
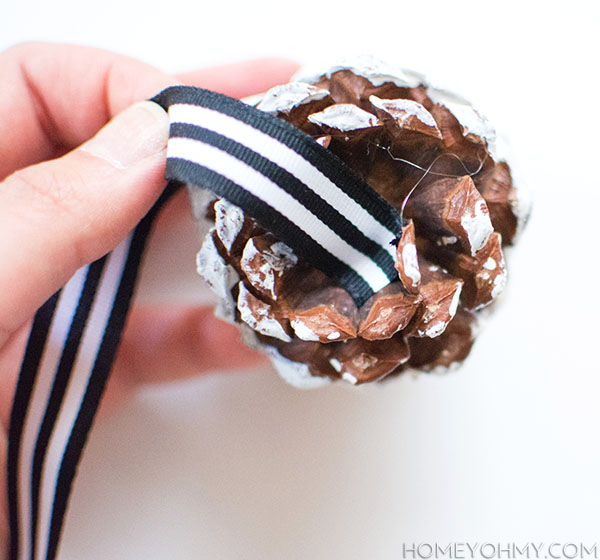 Using a glue gun, I glued the end of each piece of ribbon to the bottom of a pine cone.
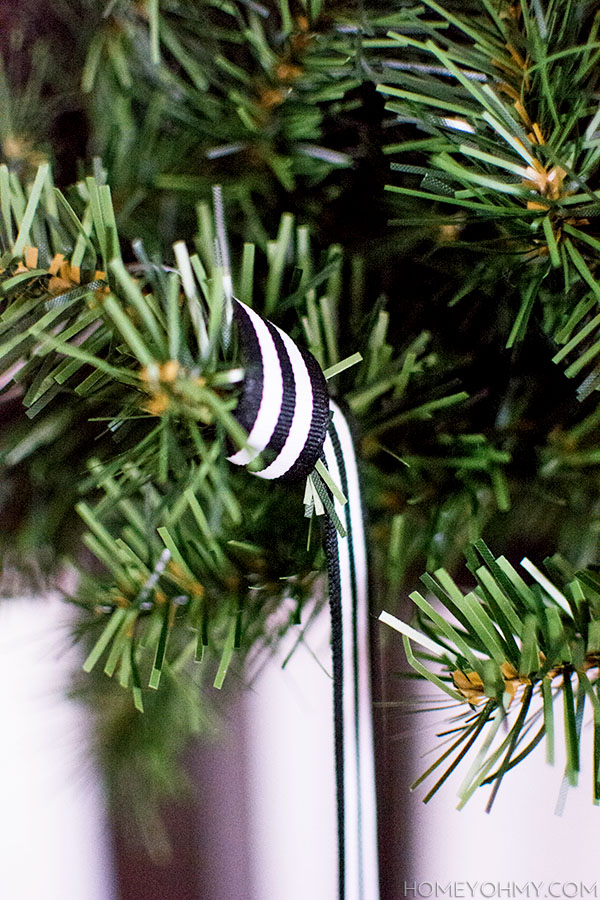 I wrapped the ribbon around the branches of the faux evergreen garland I hung up around the edges of the table, making each pine cone hang at a different length. I also cut the ribbon in fairly long pieces so that I could weave the excess through the rest of the evergreen garland.
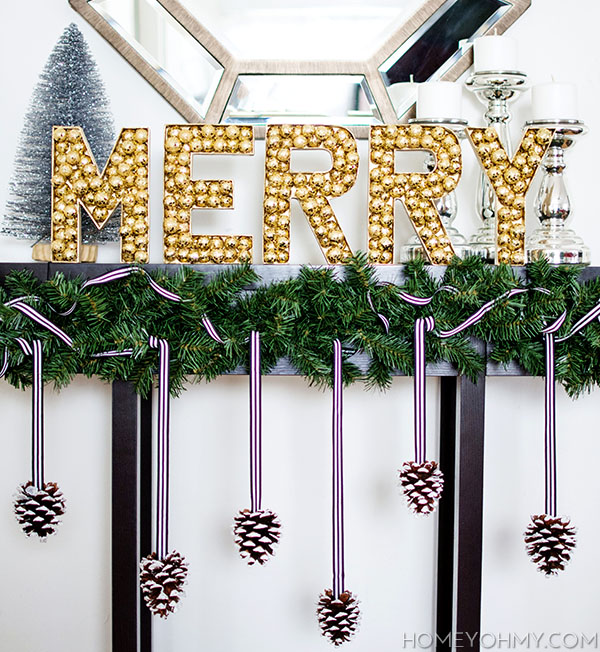
 Tis the season of mantel envy as they say (or maybe I just say that?), and this is how I’m coping with not having one, and it ain’t bad! It makes me so happy and warm to look at it, which is all I wanted other than to add even more gold to my home this season. I’ve been a little quiet on the gold lately, but it will be making it’s way back with my holiday decorating this time. Last year was silver- isn’t that weird of me?
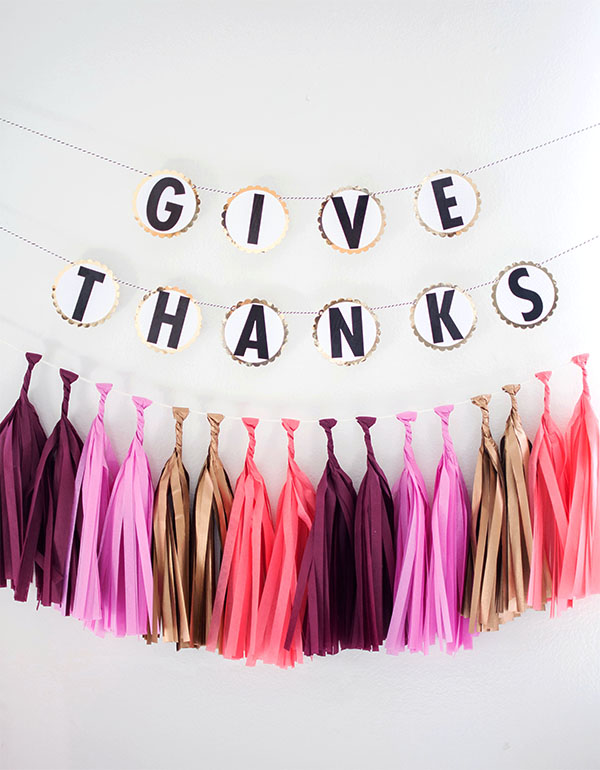 As promised in the previous post about my
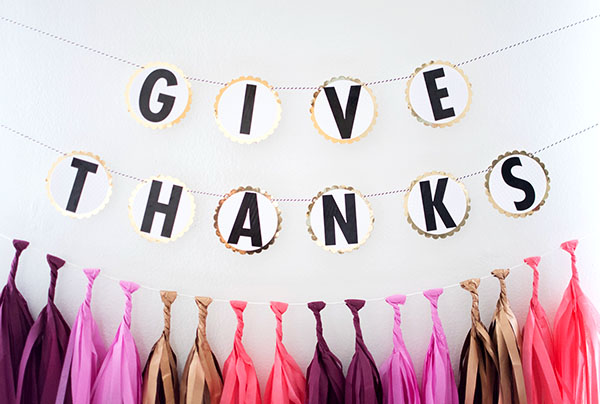

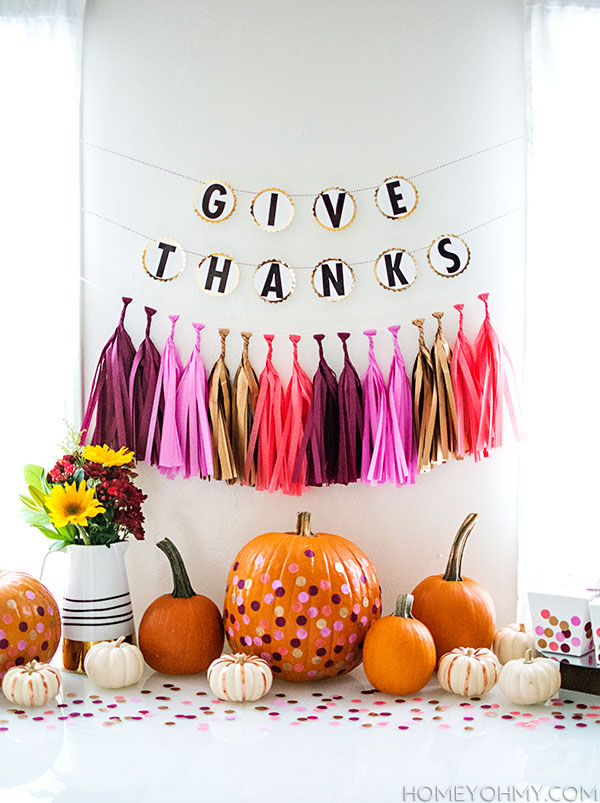 Last week I showed you guys a formal, fall/Thanksgiving table setting, so this week I’m showing you something a little more casual and more my speed at the moment, meaning buffet style and confetti. The two go hand-in-hand, of course!
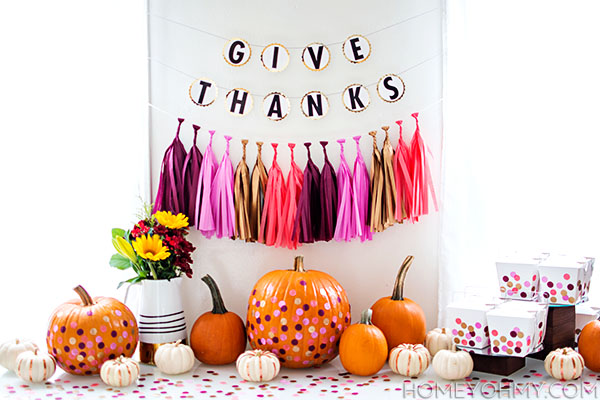
 It came in a compact package like this and contained everything needed.
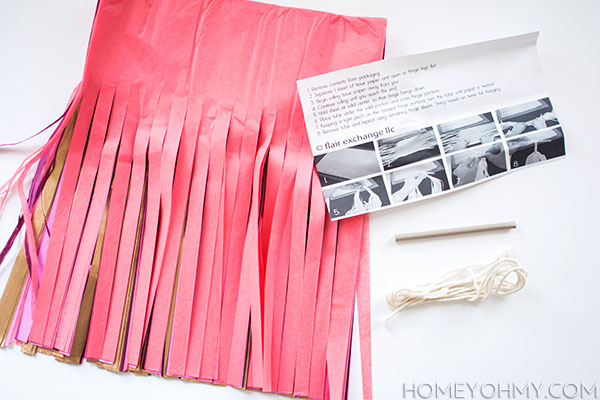
 I went with the
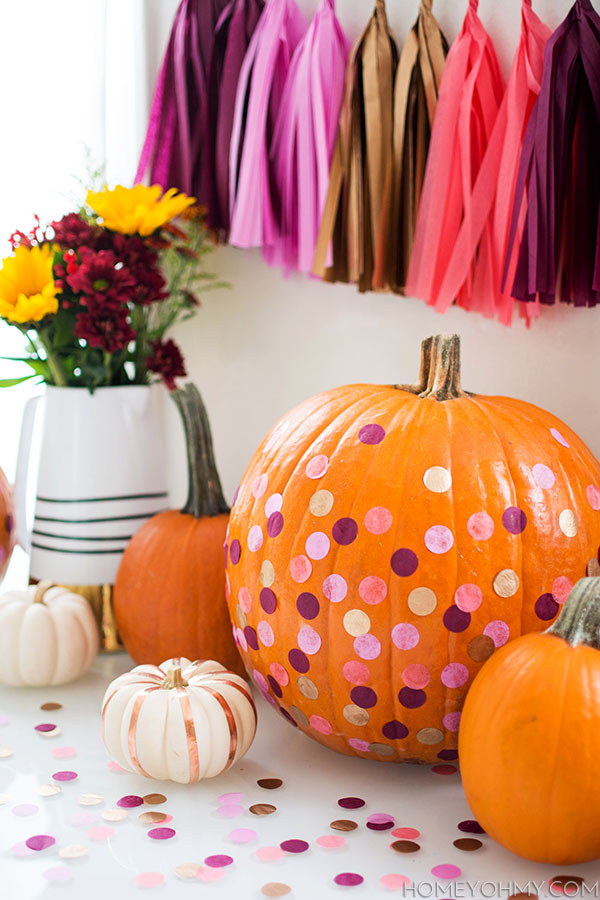
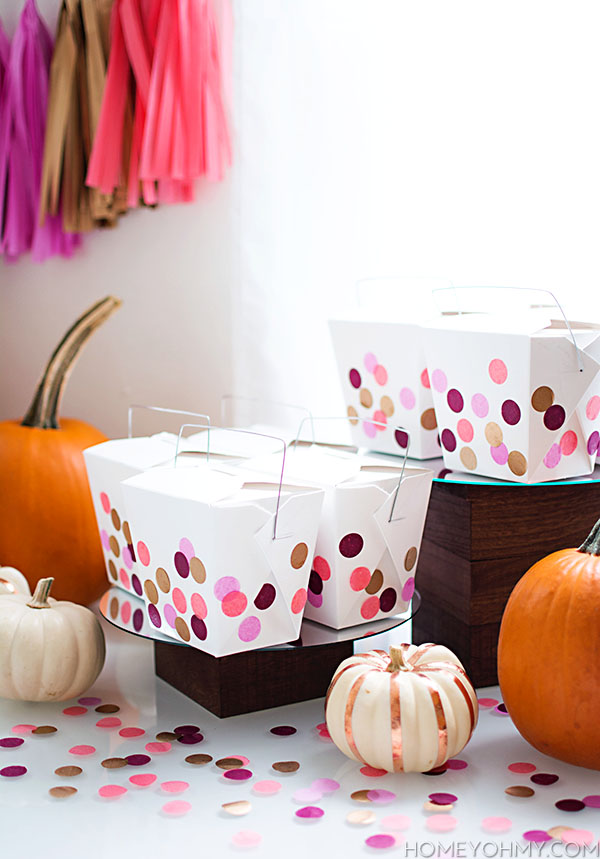 In the same way, I added more of the
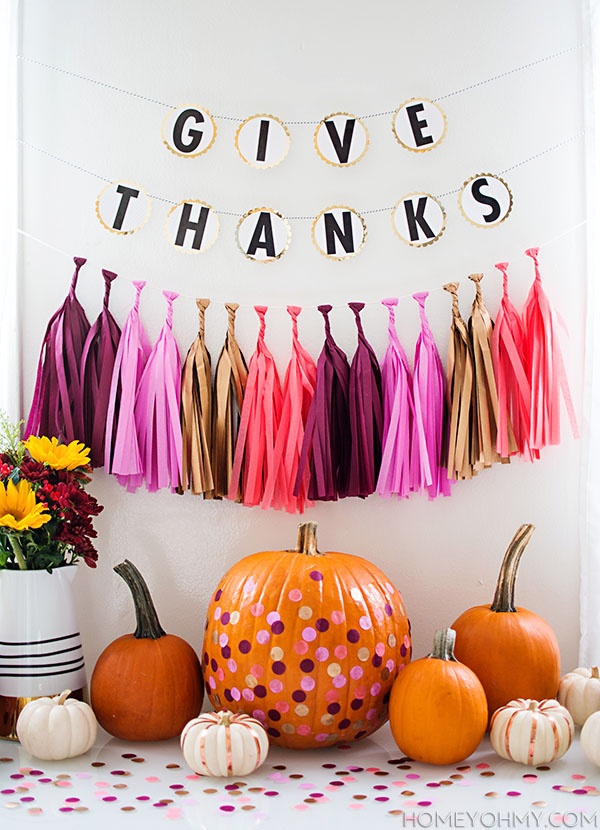
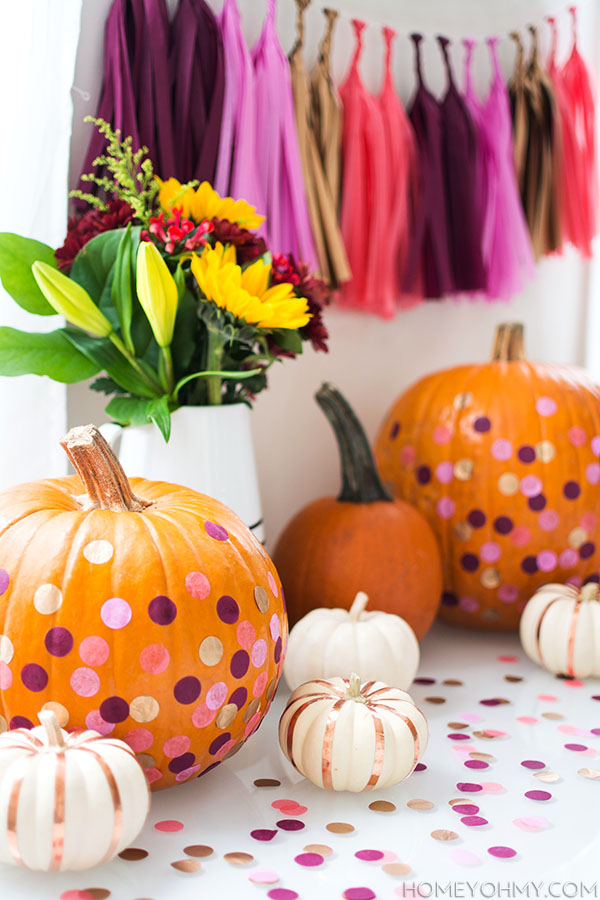
 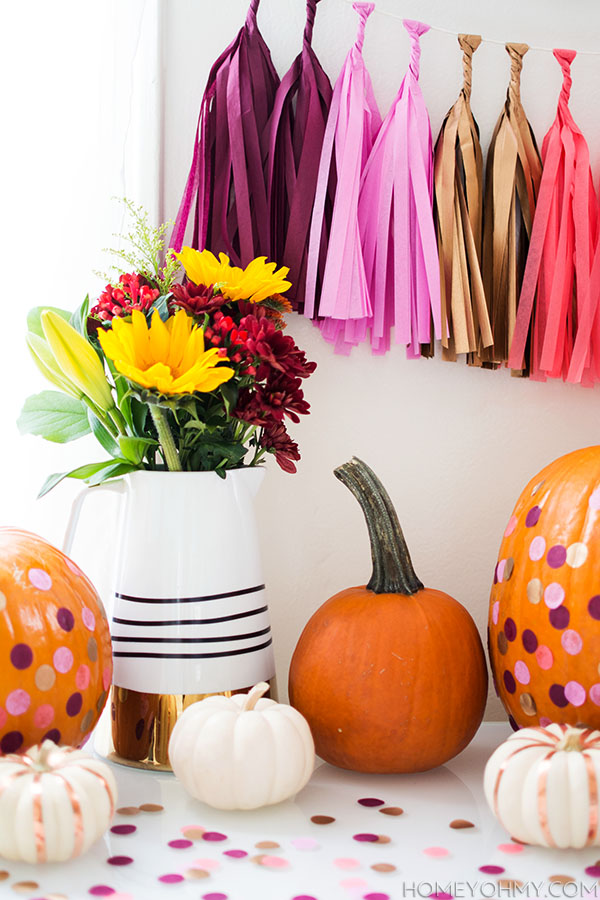 Of course, there needs to be flowers, so I arranged a simple bouquet in a pitcher. As my motto goes- when in doubt, flowers.
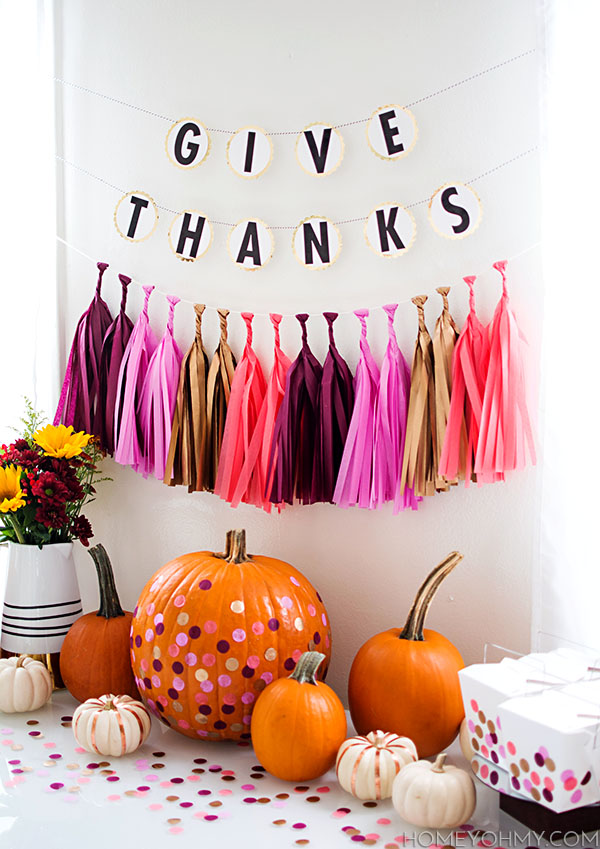 For the final touch, I