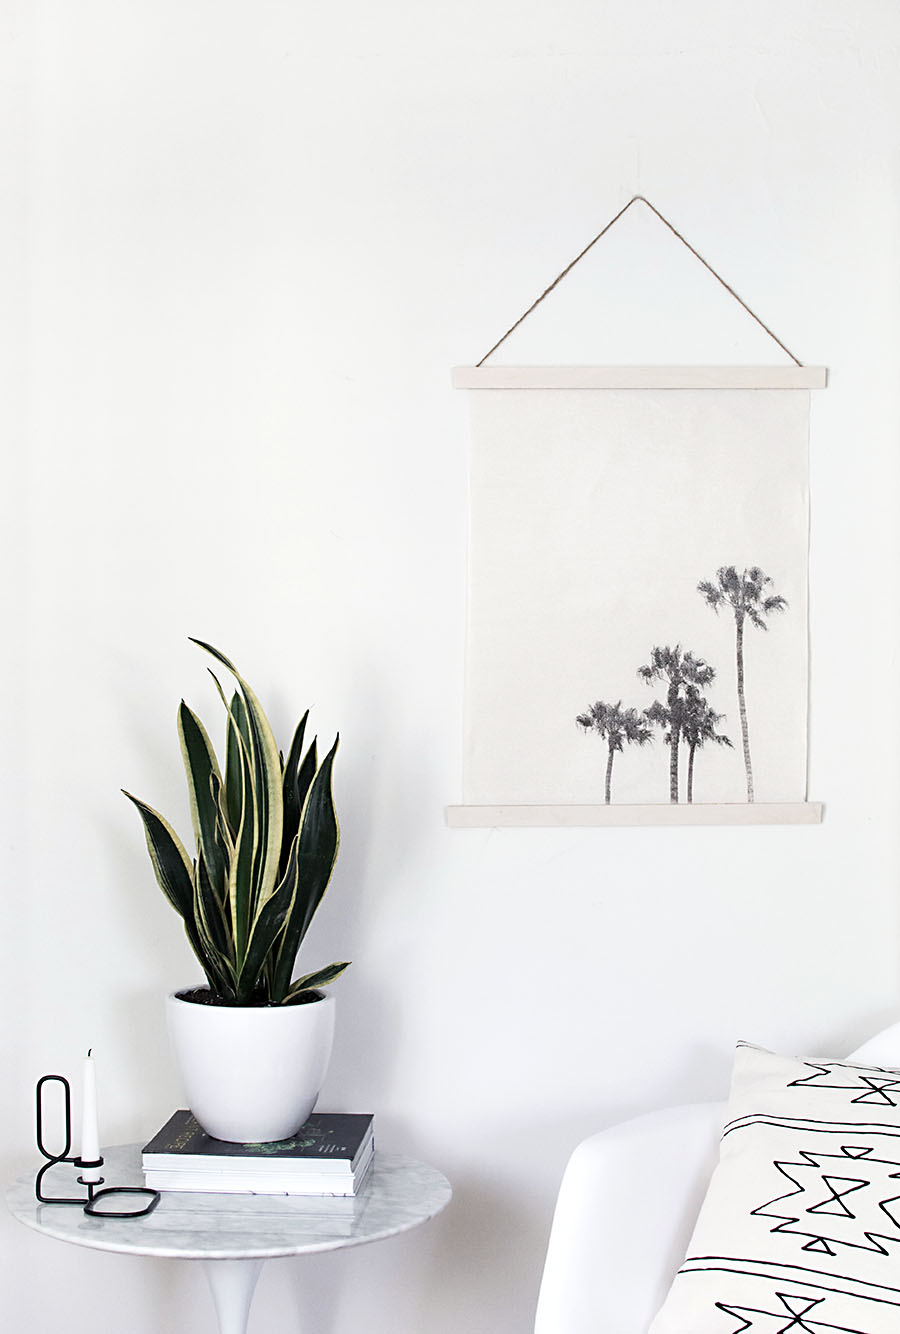
Yes, it’s my favorite: coming up with ways to display photos and art, and I’ve got one for ya today that transforms your photo into a fabric wall hanging. My mind was first blown by image transferring techniques at a workshop I attended last year but I haven’t done one since, which is a shame because it’s SO easy, especially considering how cool it is, so I’ve partnered with Canon on this project to show you how!
Materials:
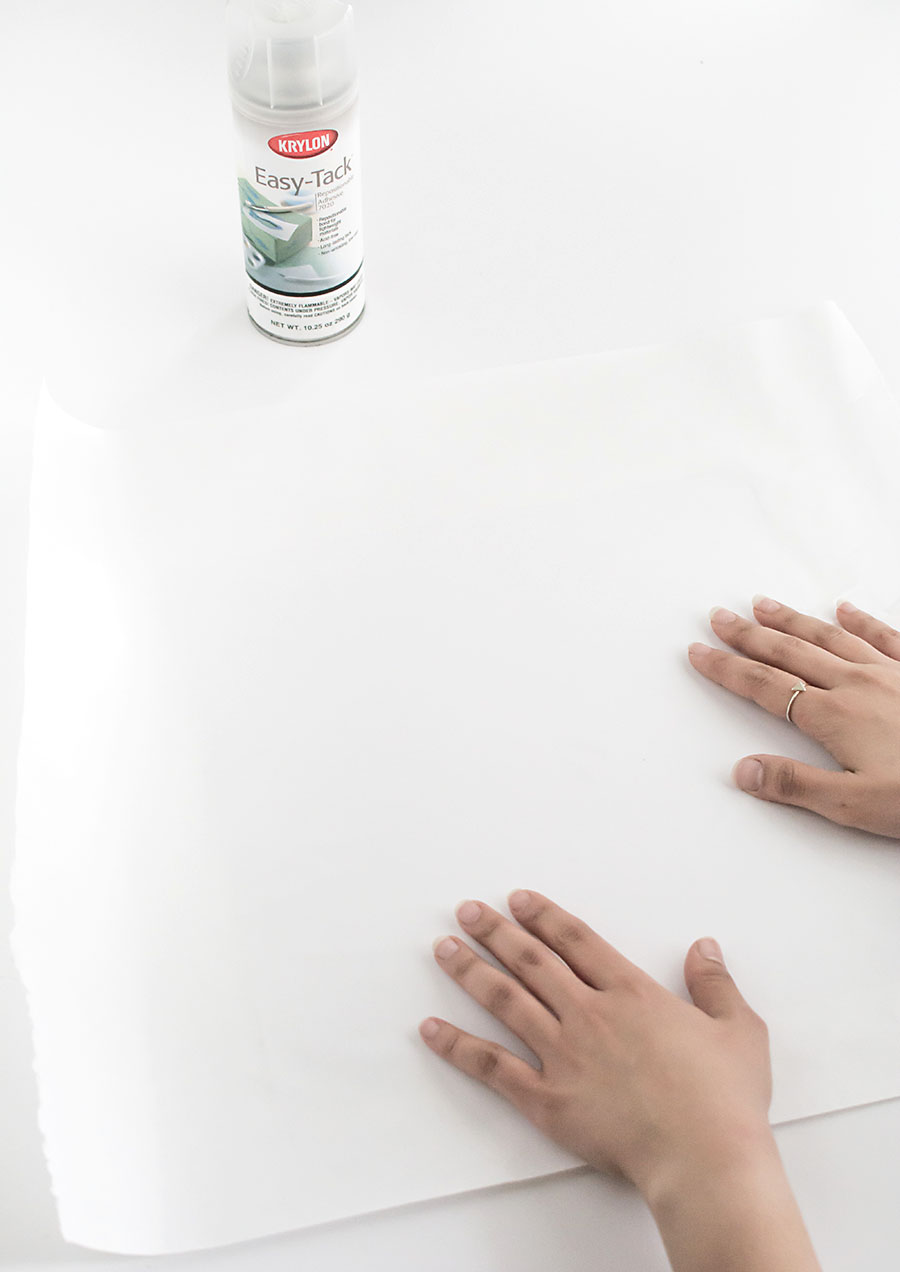
–adhesive spray
–freezer paper
-card stock (I used 12″x12″)
–Canon PIXMA iP8720 Crafting Printer (this is an inkjet printer, which is necessary for this method of image transferring)
-fabric (I used an ivory outdoor fabric cut to about 16.5″x23″)
-basswood stick (36″x1″, found at the craft store)
–saw
–mitre box
–E6000
–jute
Apply the adhesive spray to the card stock and place the freezer paper (waxy side up) on top of it. Smooth out the freezer paper and make sure it adheres without bubbles, then cut the excess around the edges of the card stock.
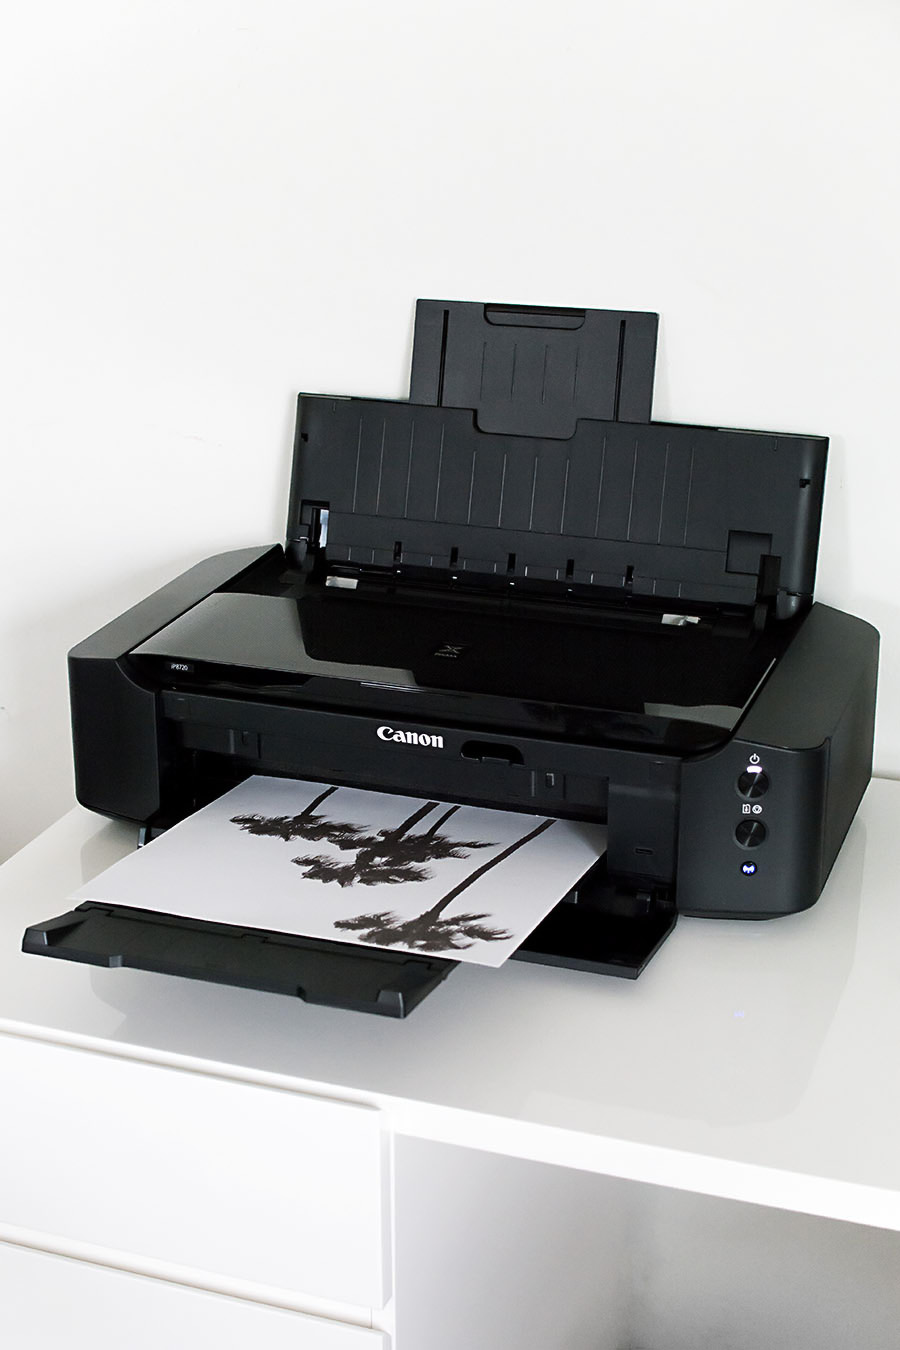
Print the photo on the waxy side of the paper. I used my Canon PIXMA iP8720 since it’s capable of printing on larger sized paper, like the 12×12 cardstock I used. For the photo, I took an image I posted on Instagram a while back and turned it black and white + flipped it horizontally to its mirror image + bumped up the contrast to darken the black areas.
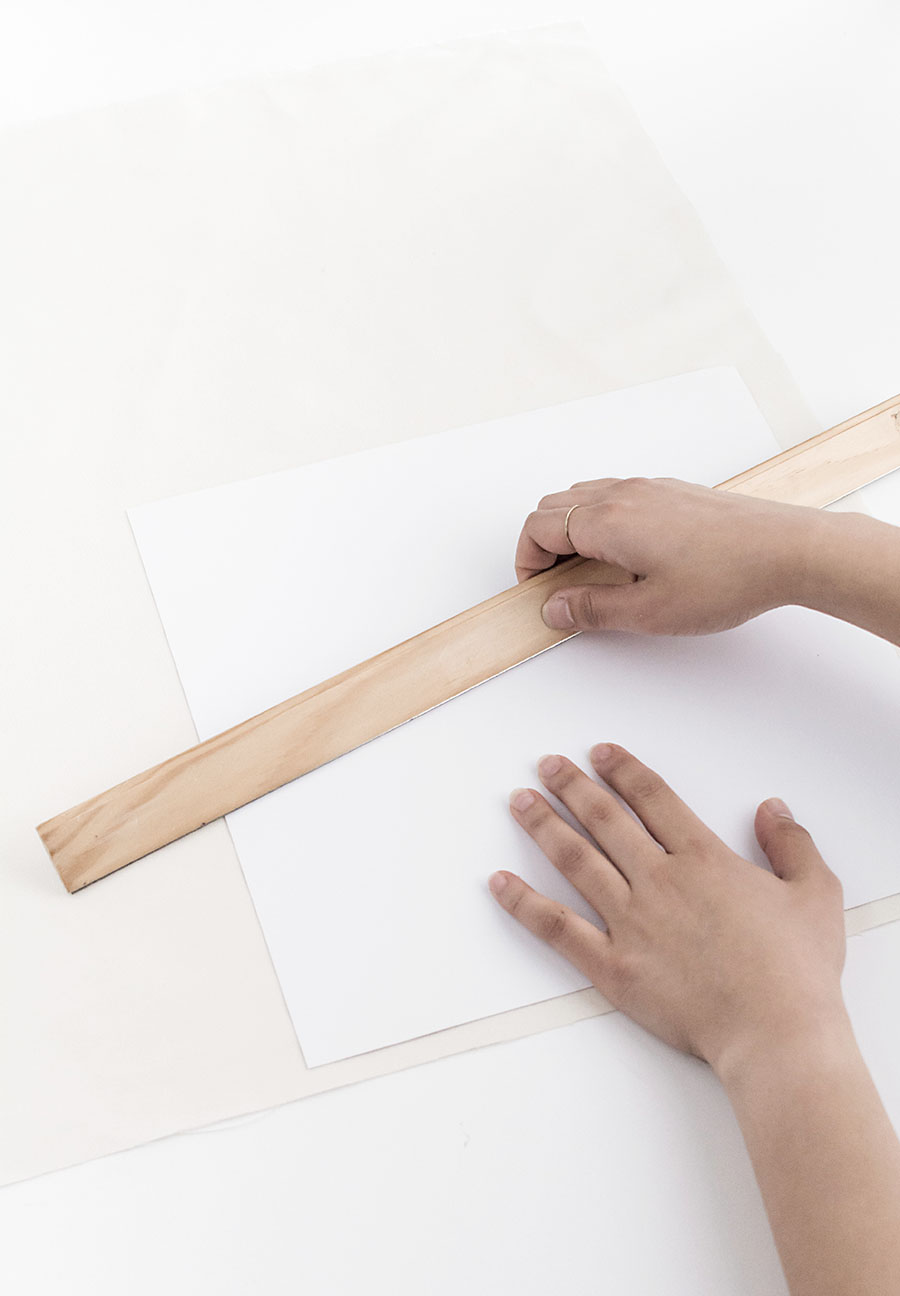
Once printed, immediately place the image face down on the fabric and use a straight edge to smooth over the entire area of the paper and transfer the image. Be careful not to move the paper once it’s placed or else the image will smudge!
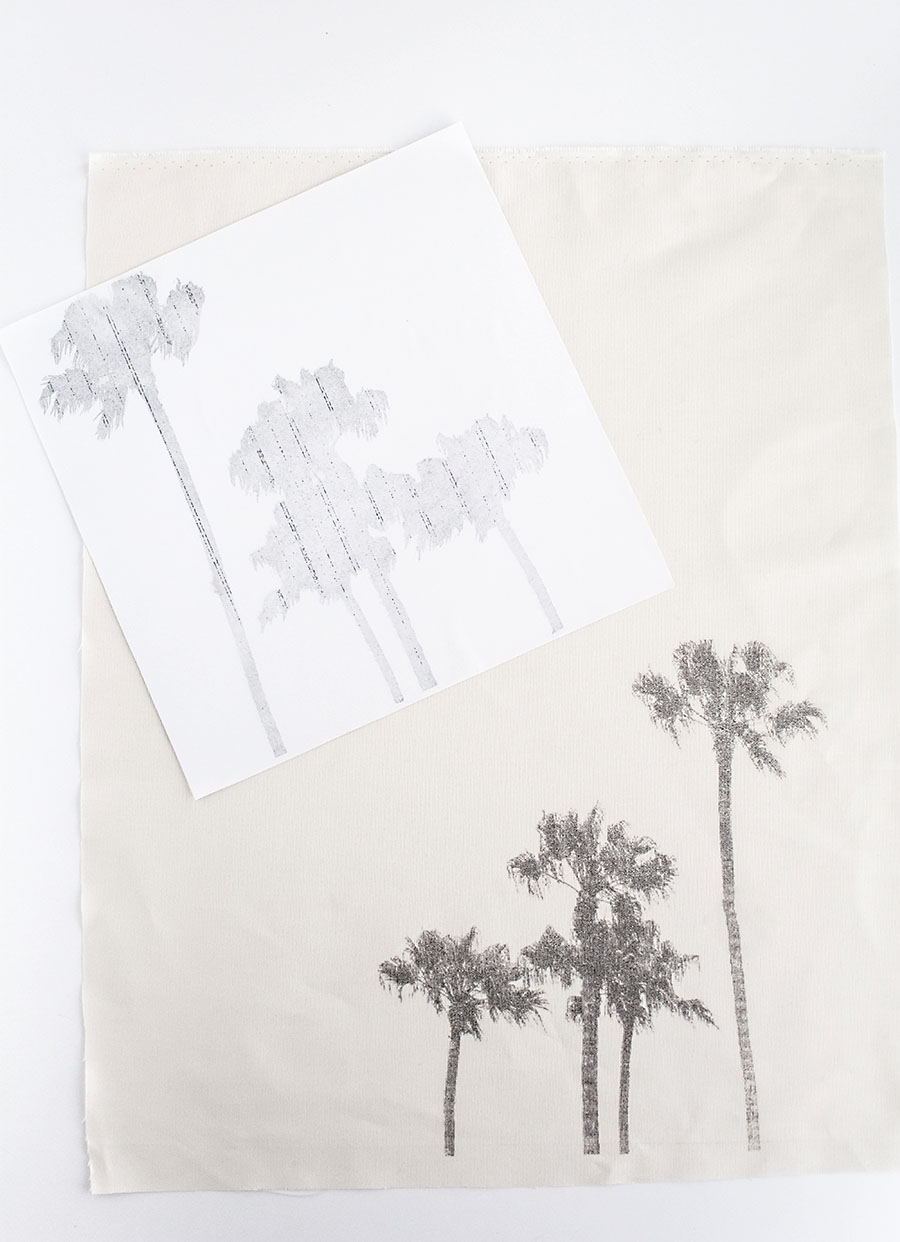
Carefully lift off the paper and marvel at your image transfer.

For the hanging part, saw the wood stick in half with the aid of a mitre box.

Apply E6000 along the length of the wood that will attach to the fabric, then place the ends of a piece of jute string at the ends of the glue line. Adhere the fabric face side down onto the wood. Repeat at the other end of the fabric, but without the jute string.

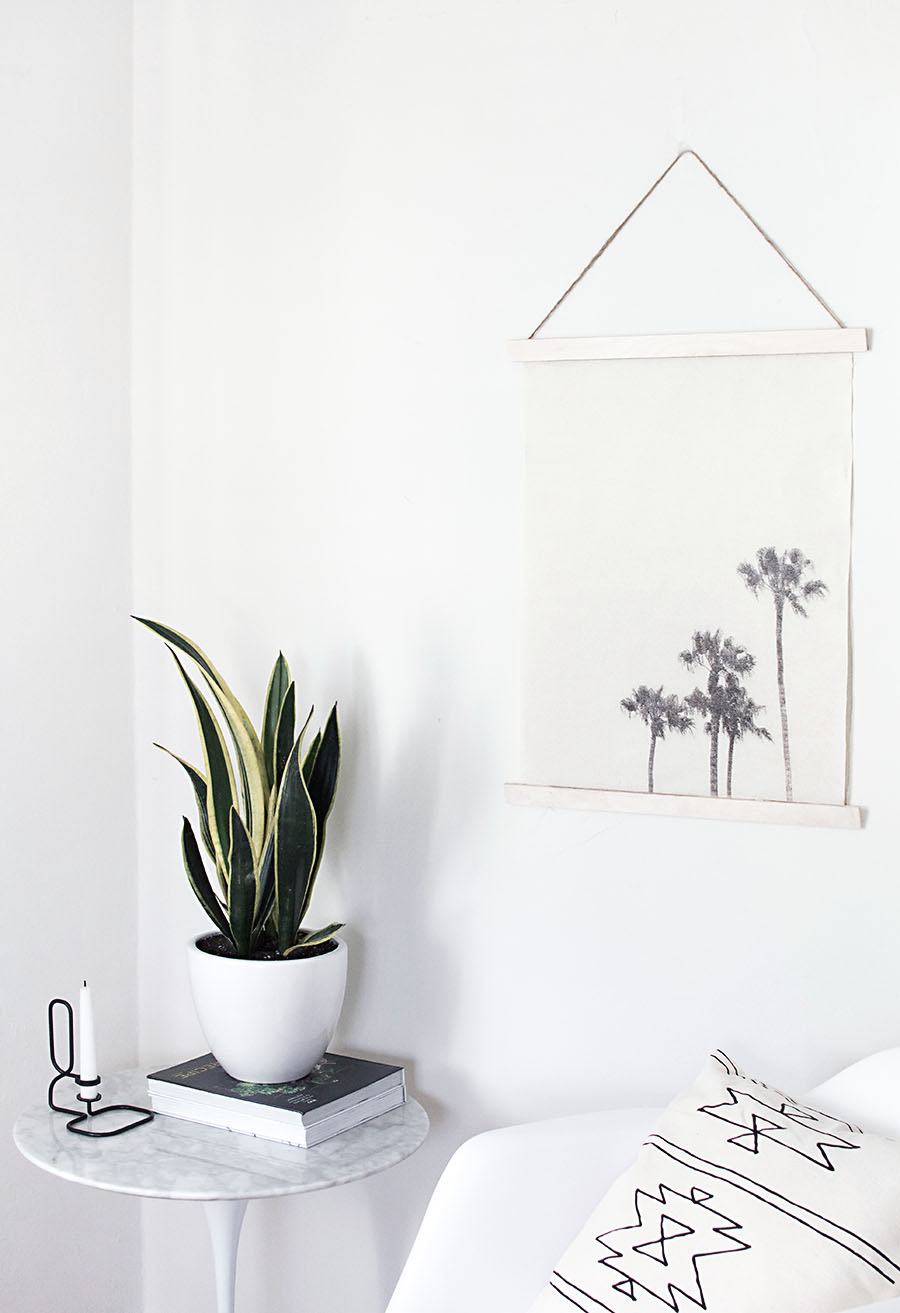
It’s definitely a unique way to “print” a photo with a lot more texture and decorative flair. I do think a stencil-like image like the one I used gives a cleaner and crisper result, but any photo would work. I’d be curious to try this with something like a photo of a landscape. Have you tried image transfers before? Let me know what you think of them!

This post is in partnership with Canon. Thank you for supporting brands that help bring fun ideas for you to discover and try!


So simple and cute :) Reminds my of Asian art :)
Totally know what you mean, and I agree! Thanks, Sarah!
This is so awesome! And oddly, i never knew how they make these!! Thanks so much for sharing :)
Oh my gosh, thanks Corina! So happy you came by <3
Very nice project, but one very important moment is a bit unclear to me. Do you use inkjet or laser printer? I think this works only with inkjet printers, please dissolve my doubts. Thank you for your creative ideas!
Hi Irina! Yes, it only works with inkjet printers. Great question!
Nice post – it makes a lovely wall hanging and looks quite easy!
Love this! So simple and effective and easily done from home. Thanks for sharing :)
http://youngmarriedtraveling.com/
How neat! And it looks great!
Thanks so much, Ashley!
This is an amazing technique!! I can’t wait to try it… what a fab project!
So amazing! Love it!
May I ask you how you edit your instagram pictures? Would be nice!
Have you tried this with coloured ink?
I have not, but it should work!