Today’s post is a bit different! It’s my first guest post ever and I’m so excited that it’s on a blog that I love. Not only do I admire Alexis and all her work, but she has been one of the nicest, most down to earth bloggers that I connected with very early on in my blogging journey. I’m so honored that she asked me to contribute to her Handmade Holiday Series.
Visit Persia Lou to see the guest post, or continue reading here to see how I made these gold leaf cards.
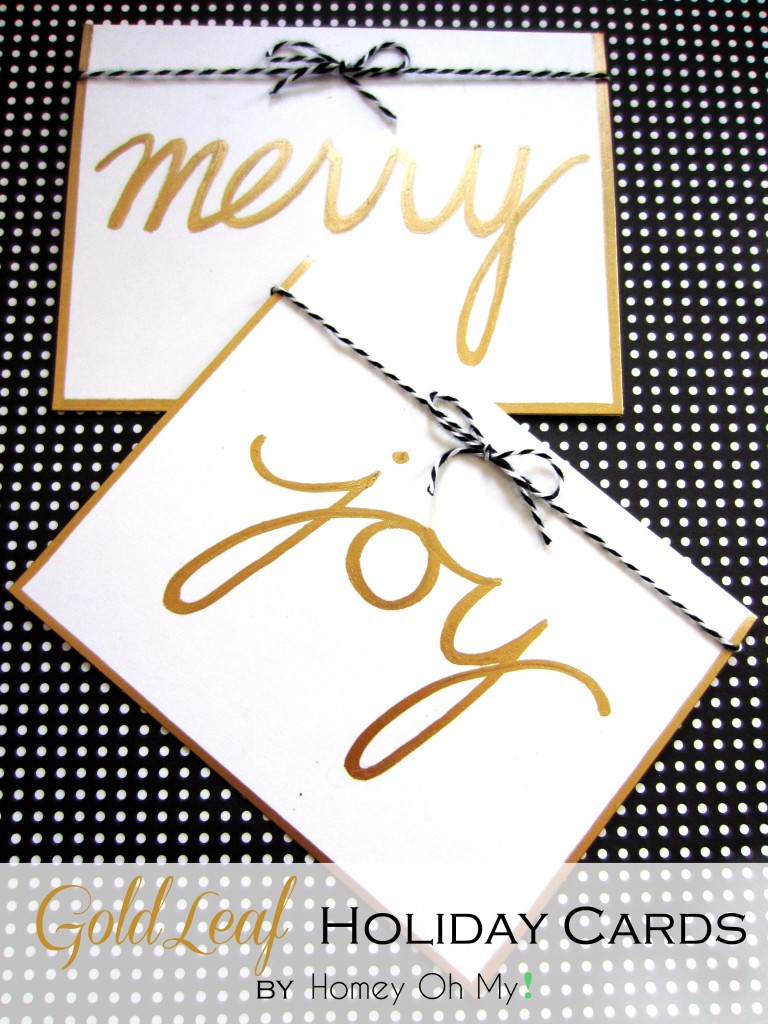
My main goal with these cards was to make the design simple. Especially with how hectic this season gets, it’s ideal for me to keep holiday DIY projects easy, although really… I like to keep all my projects easy. So for anyone looking to make quick and simple handmade cards, I’ve got your back with this one.
What you’ll need is a pencil, gold leaf pen (I used the one by Krylon), string or ribbon, and a pack of blank white cards. Now before you get started, it is critical to get used to the gold leaf pen and practice on a scrap piece of paper if this is your first time using one. You not only want to get used to the shape of the pen tip, but also become familiar with how to control the flow of the gold leaf so that you achieve steady and consistent coverage.
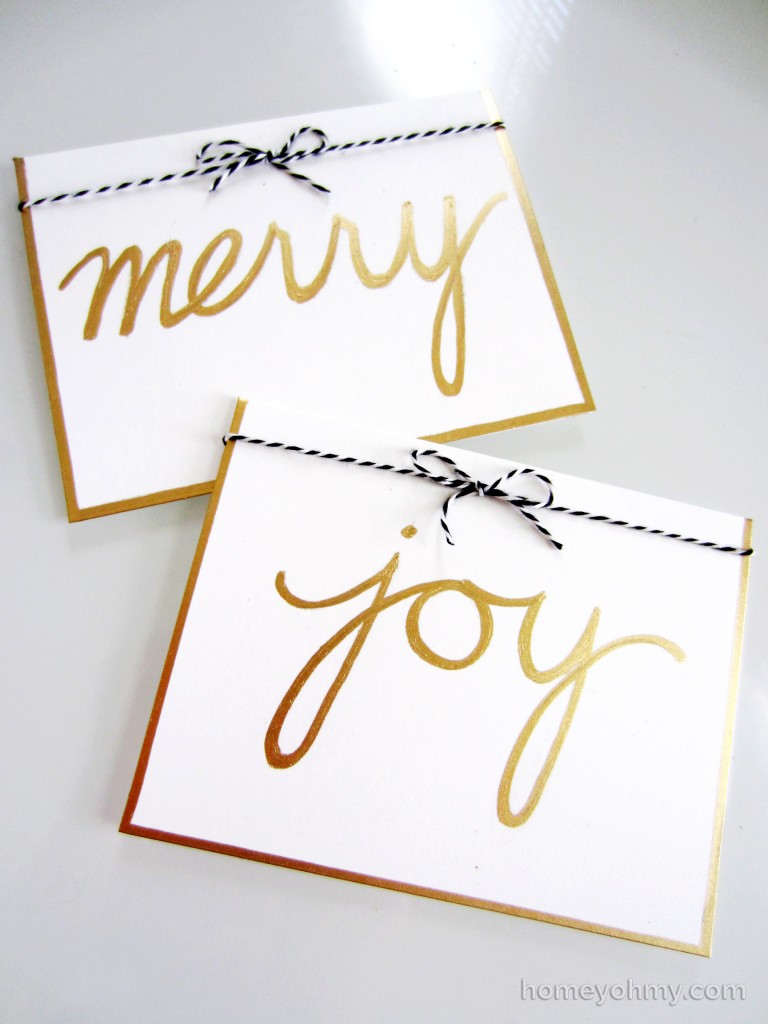
The first step is to apply the gold leaf pen on the front side edges of the card to create a border.
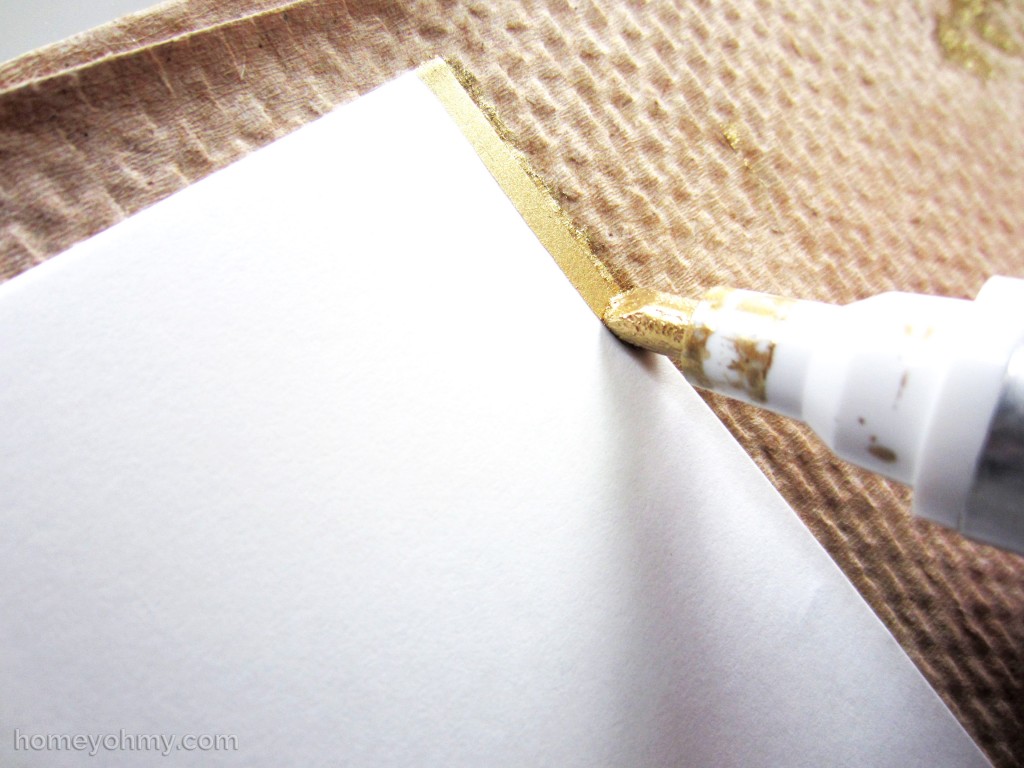 The edges of the card should help physically guide your pen and make it easy to create straight lines.
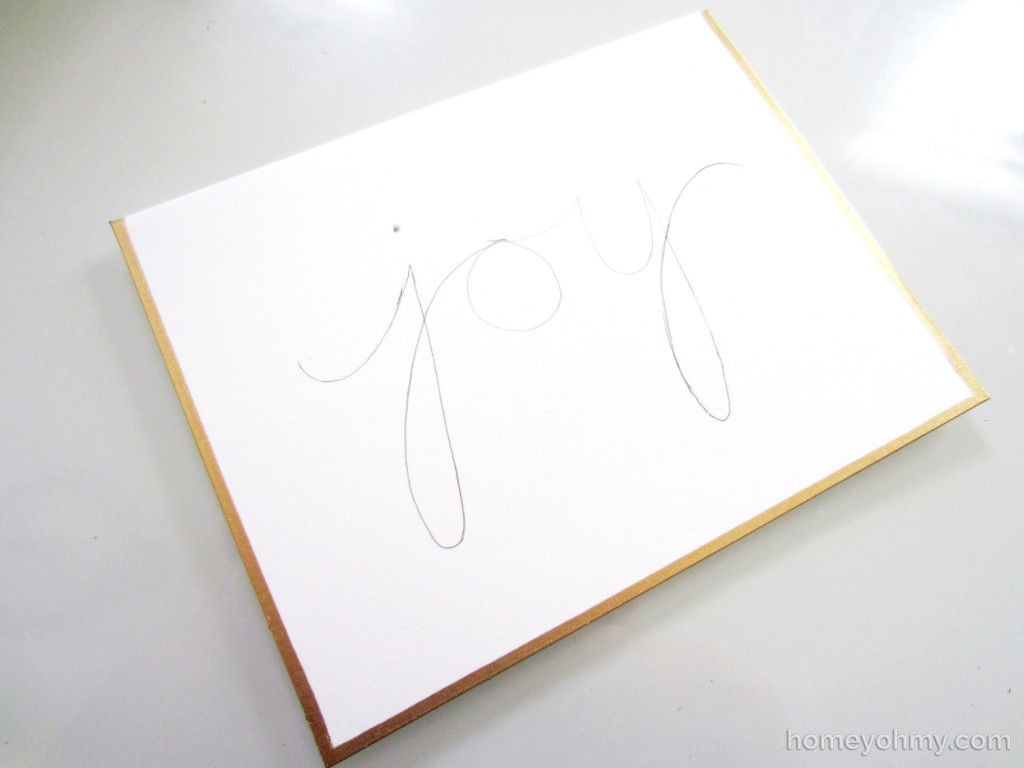
After letting the edges dry for a little bit, lightly write out in pencil whatever it is that you want on the card.
 Next, trace over the pencil with your gold leaf pen. Take your time and don’t feel like you have to trace over everything in one go. I used short strokes, stopping at the corners of the letters or in places that made sense to take a break at.
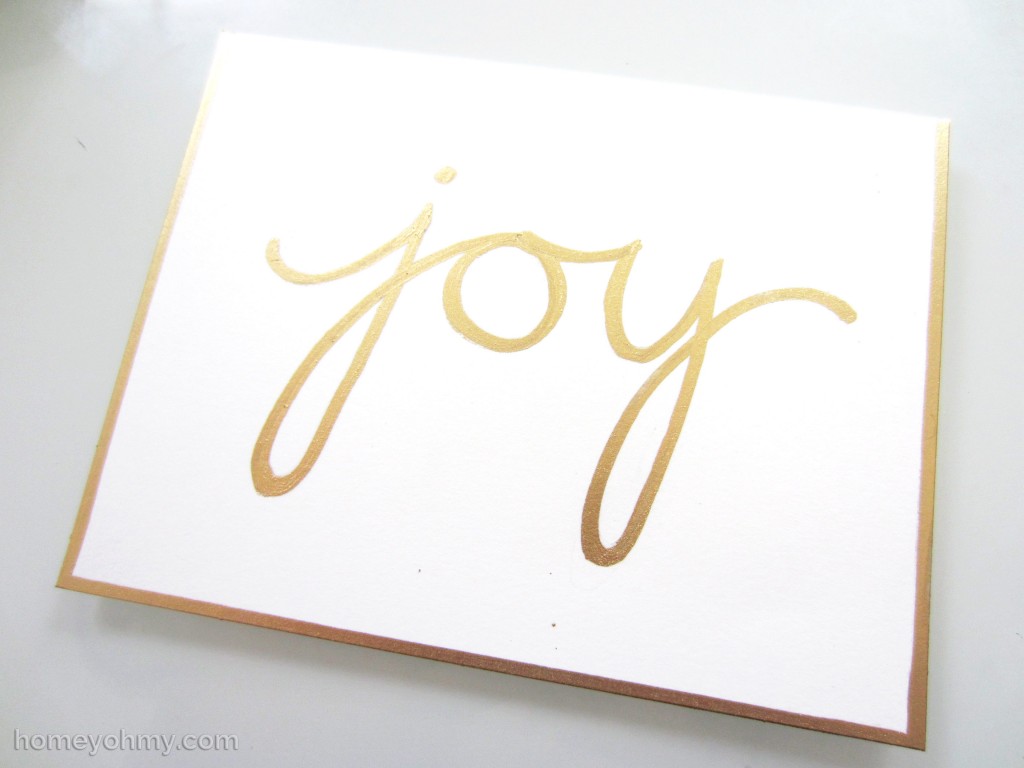 Give this some time to dry! I made a mistake in my first attempt at this card by moving on to the next step immediately and ended up smudging the gold leaf. Learn from my fail.
Finally, wrap string or ribbon around the top of the front flap of the card and tie it into a bow.
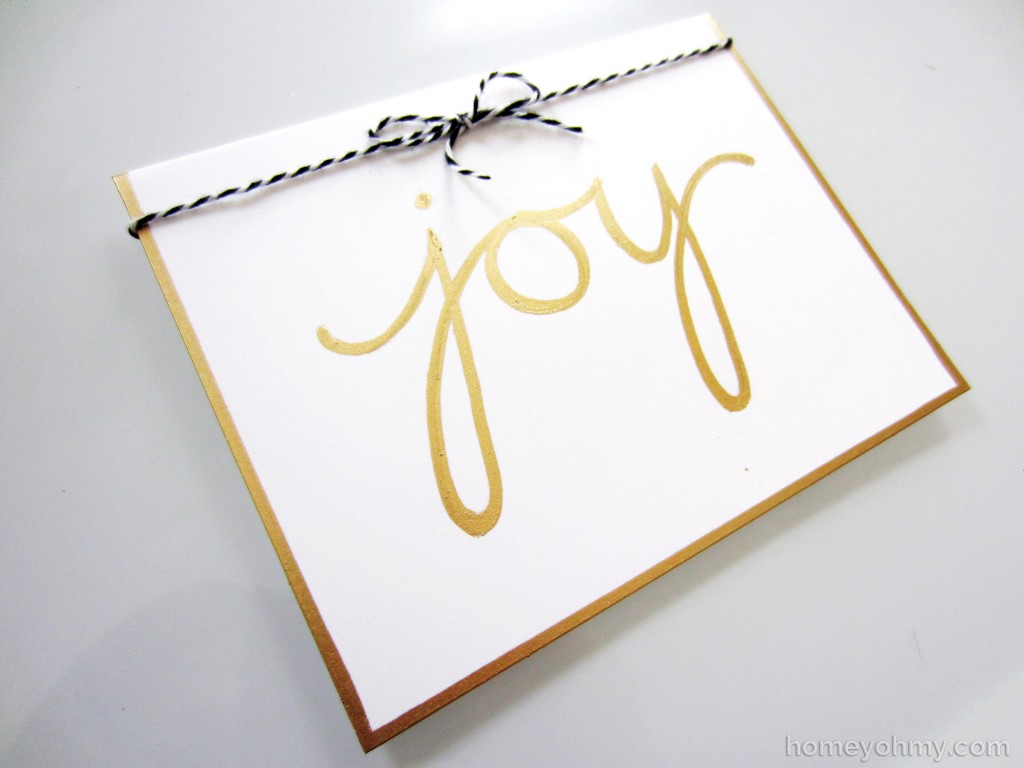 You can add glue or any adhesive under the knot of the bow to secure it in place.
That’s it! Quick and simple, right?
Something you’ll see over and over again on my blog is my profound love for gold. I especially love combining it with black and white, like I did with the string for these cards. The string makes the gold more casual but is still consistent with keeping the design chic. It’s everything I love! Do you love this color combo as well?
If you haven’t already, go and link up your holiday projects or browse the projects that were already shared at the Handmade Holiday Link Party! There’s lots of great inspiration and there will be even more through Dec. 22nd. Check it all out here!
Like what you see? Stay connected with me:





Yay. Love these! So fun that your post went up today… mine goes up on Persia Lou tomorrow!
These are so cute Amy!! Simple but with a personal touch which makes the card 100 times beter than the generic store bought ones :D
Gorgeous! Love these Amy. I wish I had pretty handwriting like that. So pretty!
Wow, those are beautiful! Thanks for sharing..
Amy! You are so sweet! And talented! Basically, you are the best. :)
Hi Amy! These are so beautiful. I am a new follower of your blog. I am just stopping by to let you know that I have nominated your blog for a Liebster award. Come by my blog to check out the details. http://trappeddesigner.blogspot.com/2013/12/designer-trapped-in-lawyers-body-has.html.
– Tasha @ Designer Trapped in a Lawyer’s Body
So pretty! Definitely hopping over there!!
These are beautiful!
I love how simple these are and yet they look like a million bucks! Great job!
These are simply stunning! Love it!…Mimi…xxx
These are so pretty! You were featured at http://www.placeofmytaste.com/2013/12/work-it-wednesday-no28.html. Hope you are having a wonderful Wednesday!