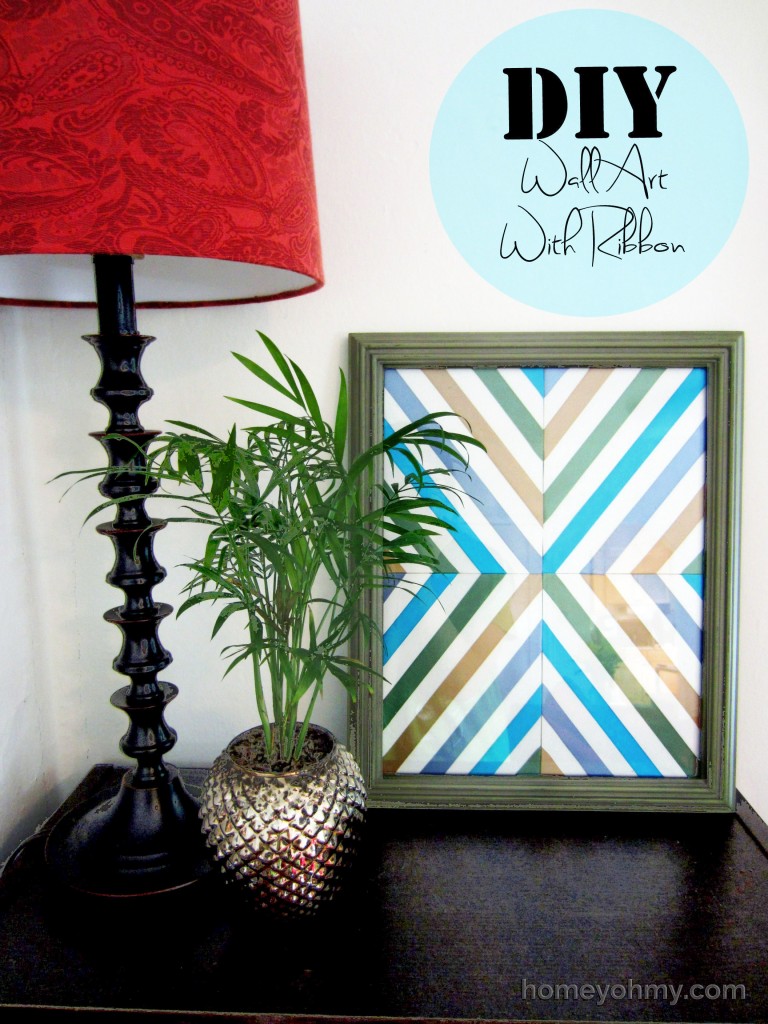
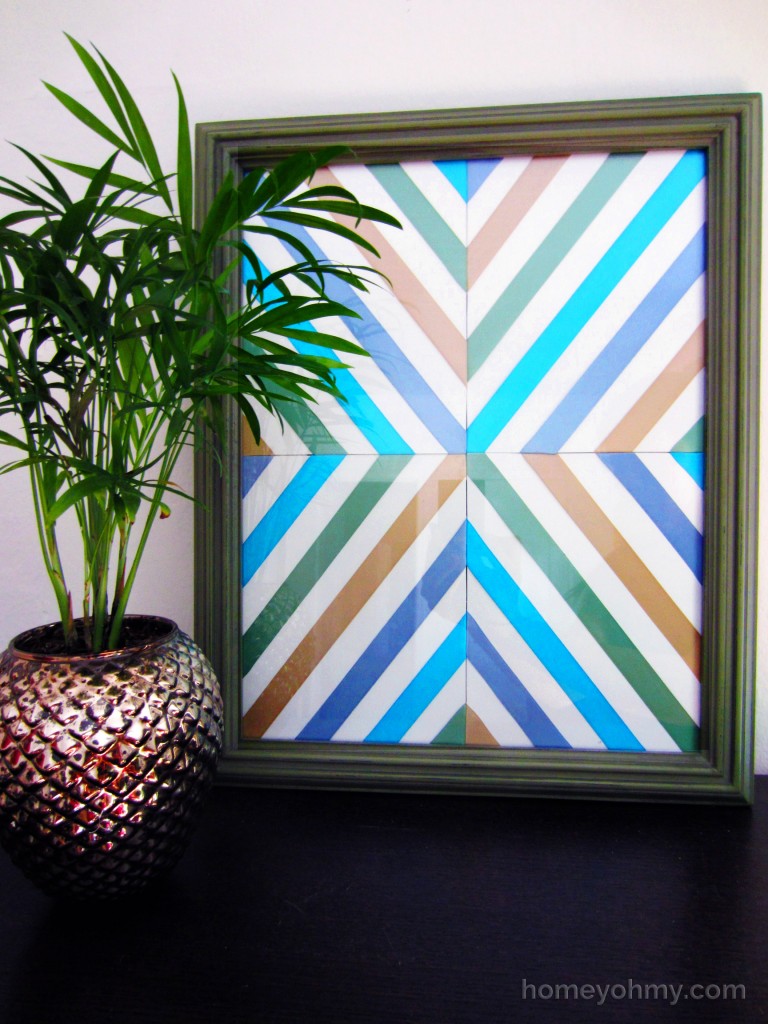
I did it! I came up with an easy, mess-free way to create this geometric wall art using ribbon and double-sided tape. Simple enough, no? I was inspired by the rug in this photo, and while I wasn’t seeking to paint a rug of my own at the time, I thought the design would translate well into wall art.
Here’s how it’s done.
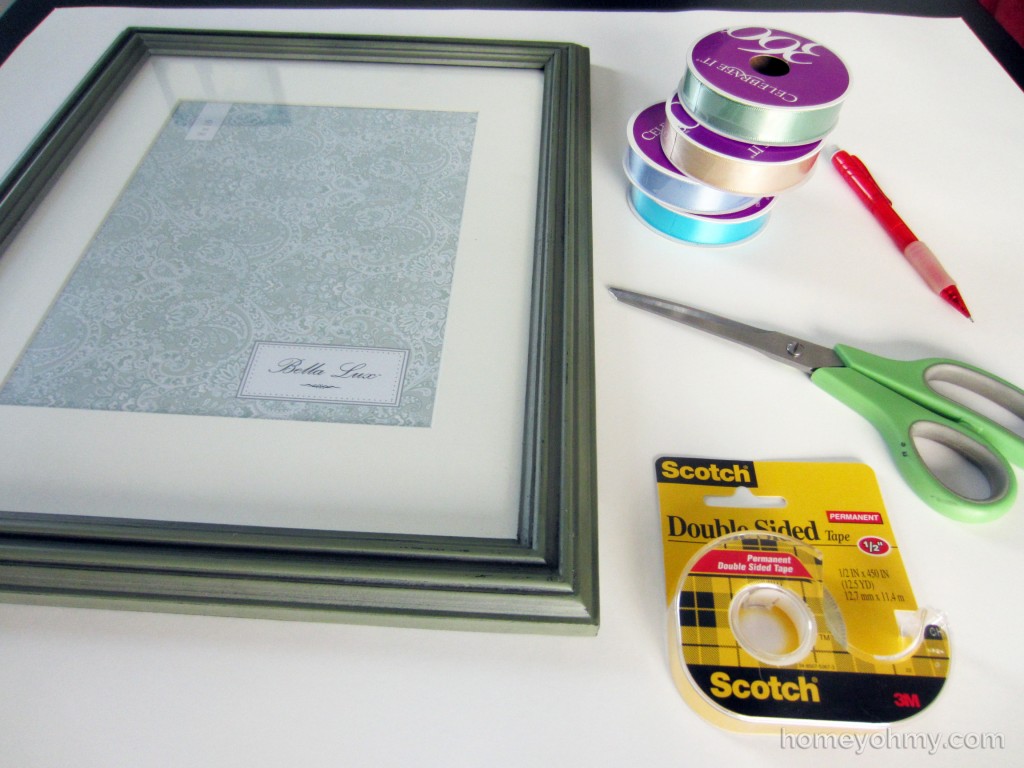
Materials
- poster board
- picture frame (mine is roughly 10.5×14″)
- permanent double sided tape
- scissors
- ribbon (I used 4 colors, 5/8″ in width each)
- pencil
- ruler
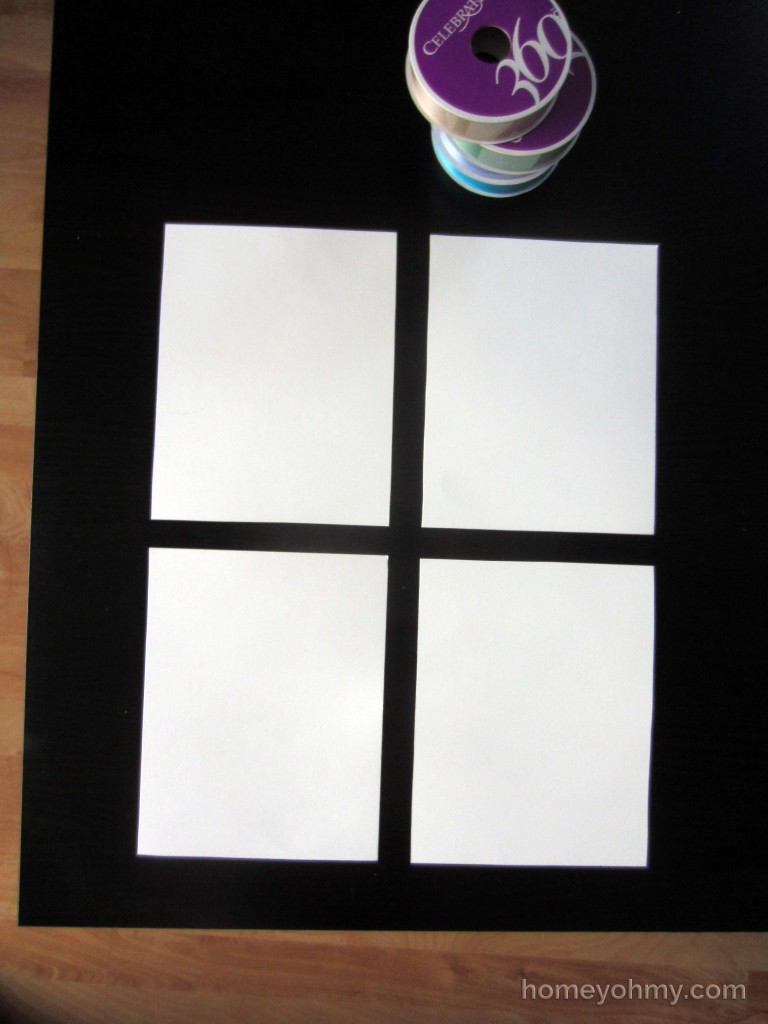
First, take out the matte from inside the picture frame and trace it onto the poster board. Measure it into four identical pieces and cut them out, like so:
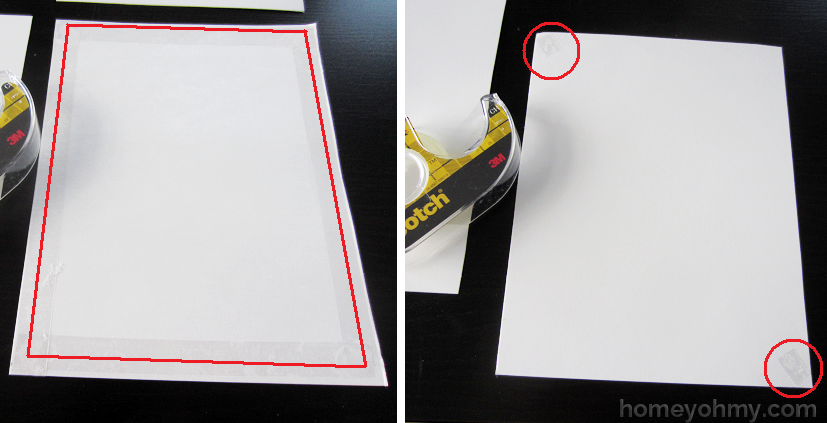
I chose to have the glossy side of the poster board to be front-facing, so I lined the back side edges with double-sided tape and then flipped it back over to the glossy side and put two small pieces of the tape on opposite corners. One of the corners must be the one in the center of the entire artwork. The areas I’m referring to are marked in red below.
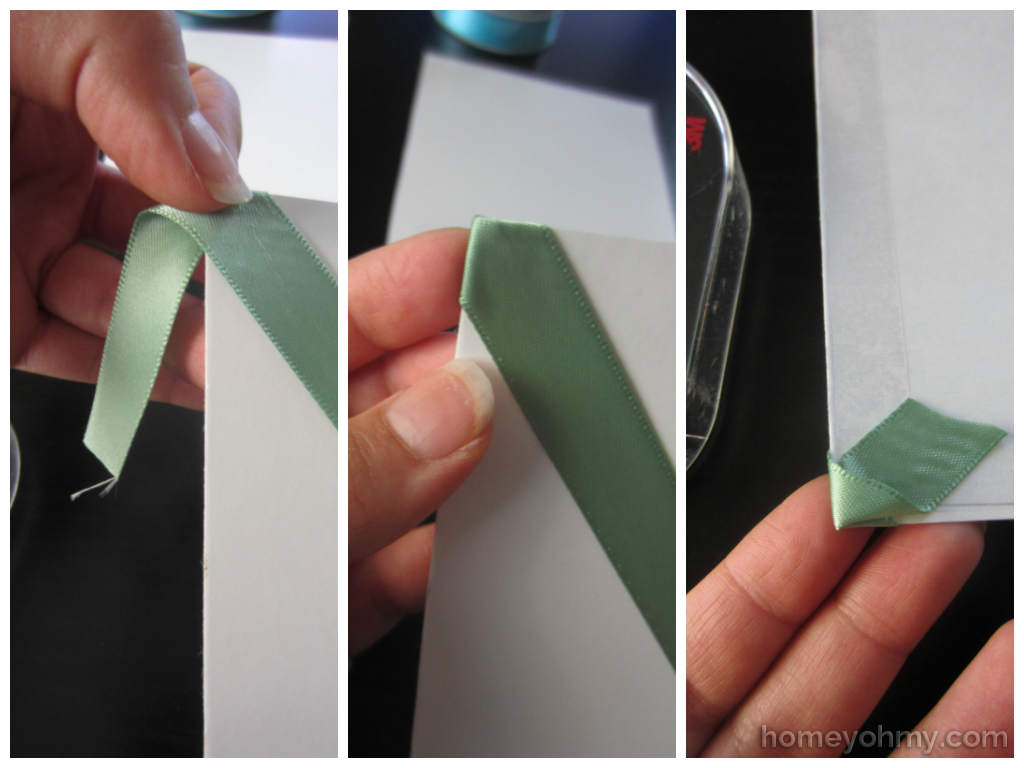
Next, I took one of the ribbons and laid it diagonally across the glossy side so that it stuck to the pieces of tape on the two corners. Now, the trickiest part is folding the ribbon over the corners.
At the corner, fold the ribbon over the top edge of the poster board, then fold it over the side edge. No ribbon should be sticking out over the edges anymore and the excess ribbon should be stuck to the tape on the back side as shown in the right of the above photo.
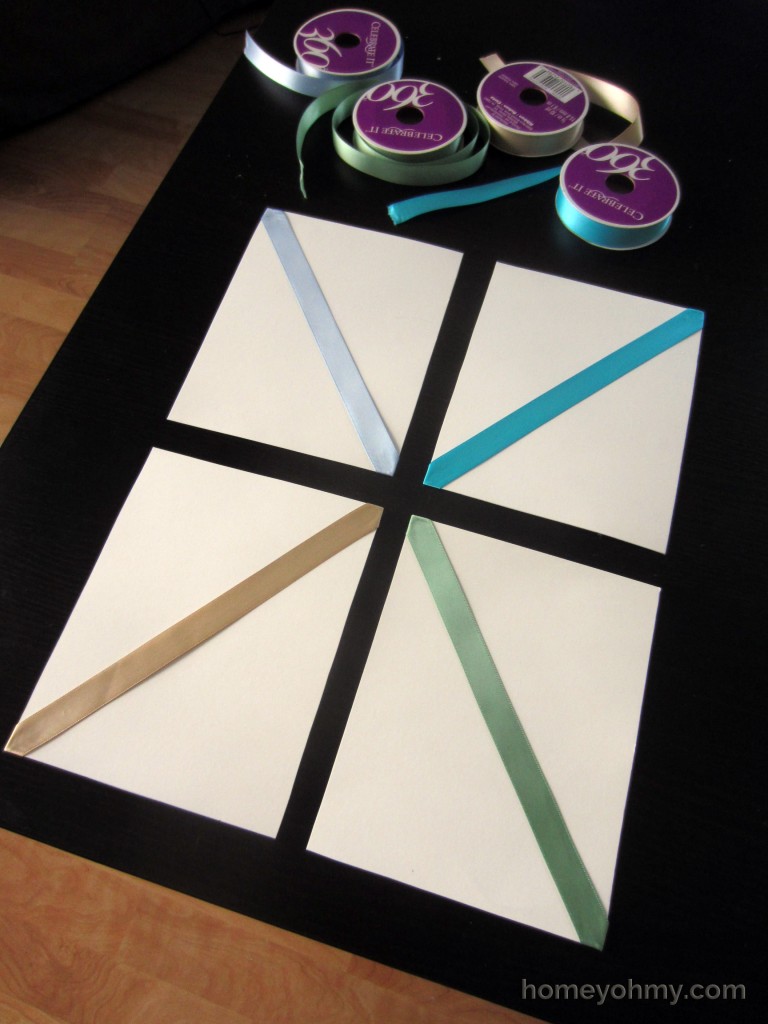
Do this on all four pieces of poster board and it should look like this:
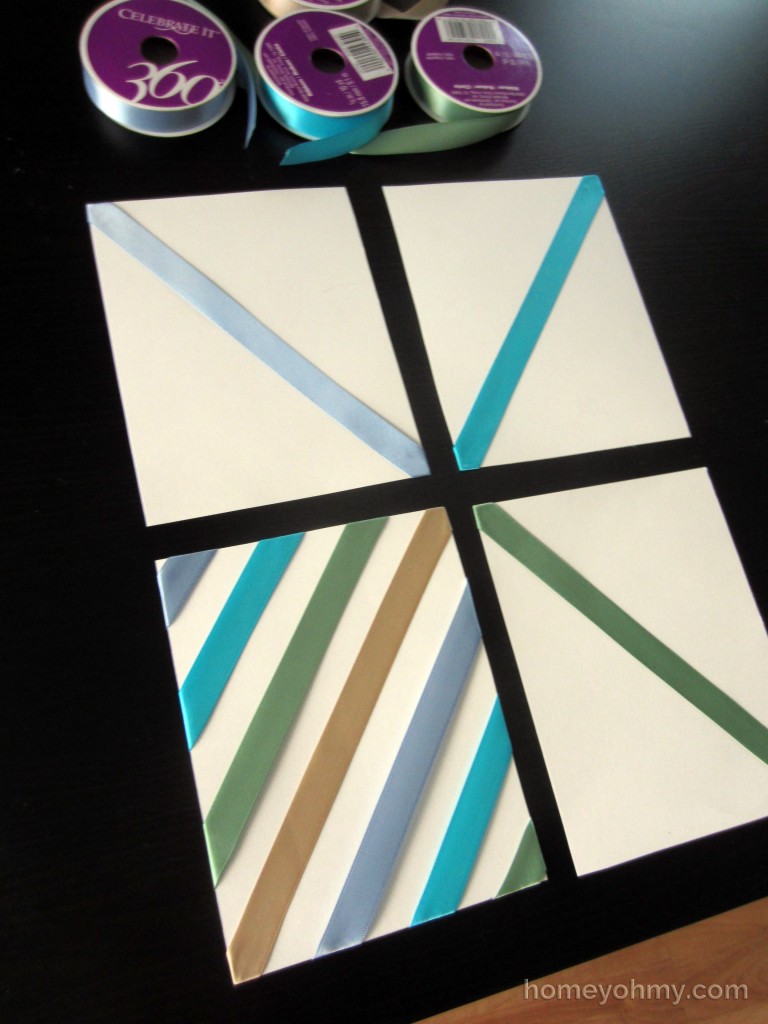
Fill up one of the poster board pieces first as a guide to how far apart the ribbons will be spaced. Simply lay the ribbon pieces at the same angle as the first piece of ribbon, fold the ends over the edges, and stick them to the tape that’s on the back side of the poster-board. Re-do this as many times as you need with each ribbon in order to get the spacing and angles lined up right. The ribbon should easily stick and un-stick from the tape.
Repeat this with the rest of the poster board pieces, lining up the ribbon pieces with the ribbon edges of the previous piece of poster board. Once all four pieces are complete, tape the back sides of the poster board pieces together tightly and place it into your frame.
I’m so happy with the way it turned out! I chose ribbon because not only does it give straight lines, but it provides a unique texture and dimension. I’m also satisfied with my decision to use double-sided tape since it is a very forgiving anchor for the ribbon. The double sided-tape holds the ribbon well, even with the repeated sticking and un-sticking necessary for getting the placements right.
Do you like the colors I chose? I’m a lover of greens and blues. What colors would you use for this wall art project? Let me know in the comments below, and thank you so much for reading!



Love LOVE the color palette! Such a creative idea. Looks professionally made!
AWESOME
I will totally try this!
This is cool!
I love greens and blues as well! I need some artwork in my kitchen, in which I’ve used vivid greens and blues. I would probably do royal blue, aqua, lime and yellow to give a nice pop!