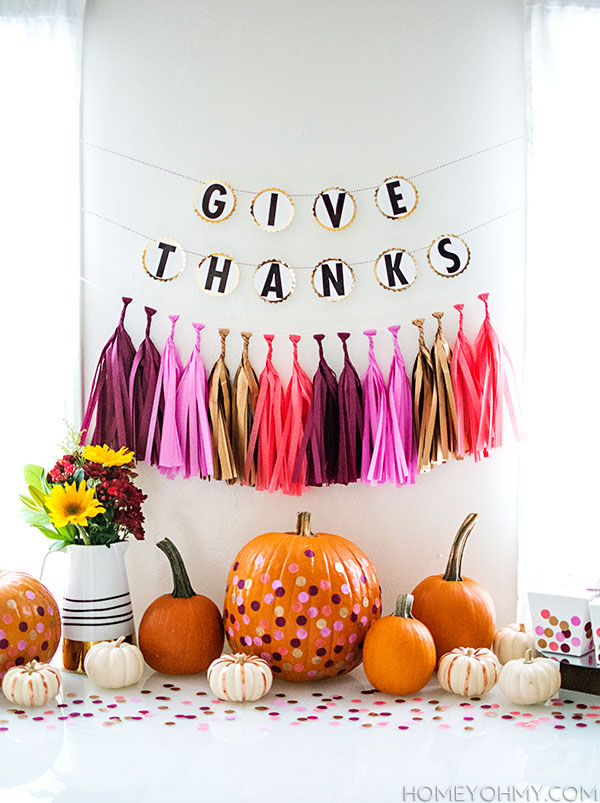
 Last week I showed you guys a formal, fall/Thanksgiving table setting, so this week I’m showing you something a little more casual and more my speed at the moment, meaning buffet style and confetti. The two go hand-in-hand, of course!
The yearly Friendsgiving tradition lives on, and I’m hosting it this weekend for a few close friends to cook some good eats and dine together in thanks. I always prefer a more casual gathering, one where everyone can huddle in the living room and get up and walk around as they please, so same as last year I’m setting up our dining table as a buffet for everyone’s culinary creations to be displayed.
Out of raging excitement, I’ve been thinking about how I was going to decorate for this party months in advance, and though I wasn’t immediately sure what I was going to do this year, I knew right away after The Flair Exchange contacted me about using some of their items for a party this season. You’ve maybe seen their crazy popular Pop Fizz Clink balloons all around the holidays last year, or have pinned something on Pinterest that had one of their tassel garlands displayed in it. Point is, they have stylish, fuss-free party decor that’s just plain FUN, which is what I want our Friendsgiving celebration to be.
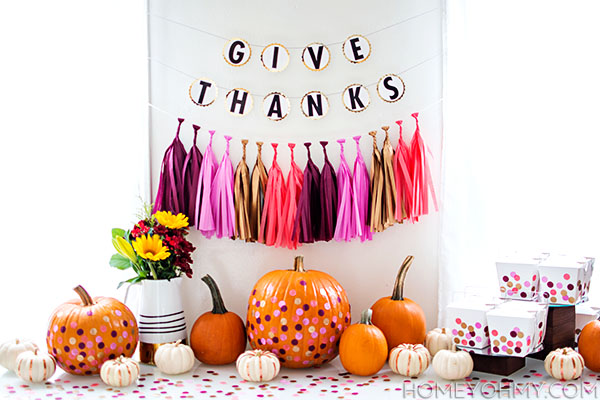
All the decor is at the back end of the table, behind where all the food would go. This was the perfect opportunity for me to display my pumpkin hoarding skills this season. I’m proud to have gotten a lot of mileage out of the mini ones, which you’ve seen the copper striped pumpkins around here a lot recently, so I only really added the orange ones to my collection since, which I’ll get to in a bit.
Taking center stage is the tassel garland, which I was most excited about.
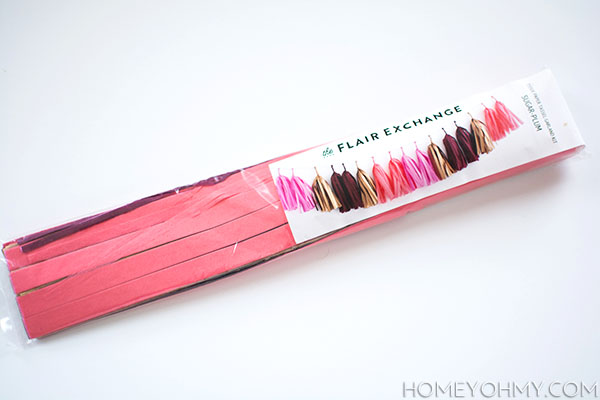 It came in a compact package like this and contained everything needed.
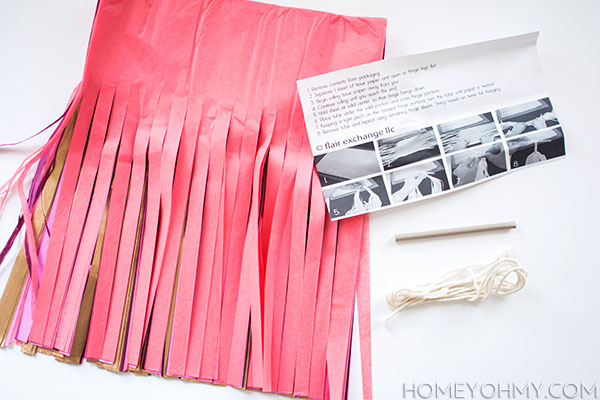
The pre-cut tissue paper, string, a tube for twisting, and instructions on how to make the garland are all included, and therefore SO convenient for someone like me who appreciates not having to go out in search of extra parts or decipher how-to’s from photos of the completed product. I think you appreciate things like that too, yea?
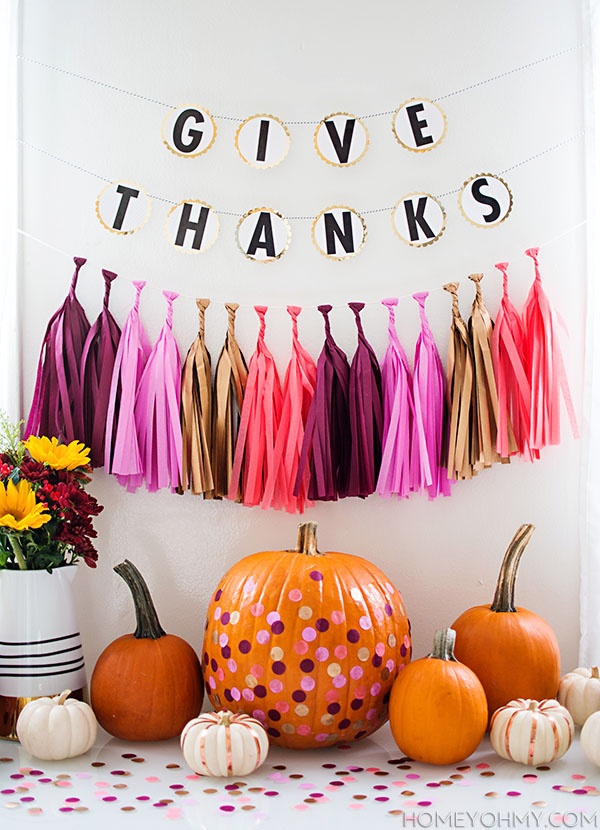 I went with the Sugar Plum kit because I liked that it was a bit more unexpected for the fall season, but also because I knew the colors would work really nicely with the orange pumpkins I’d display.
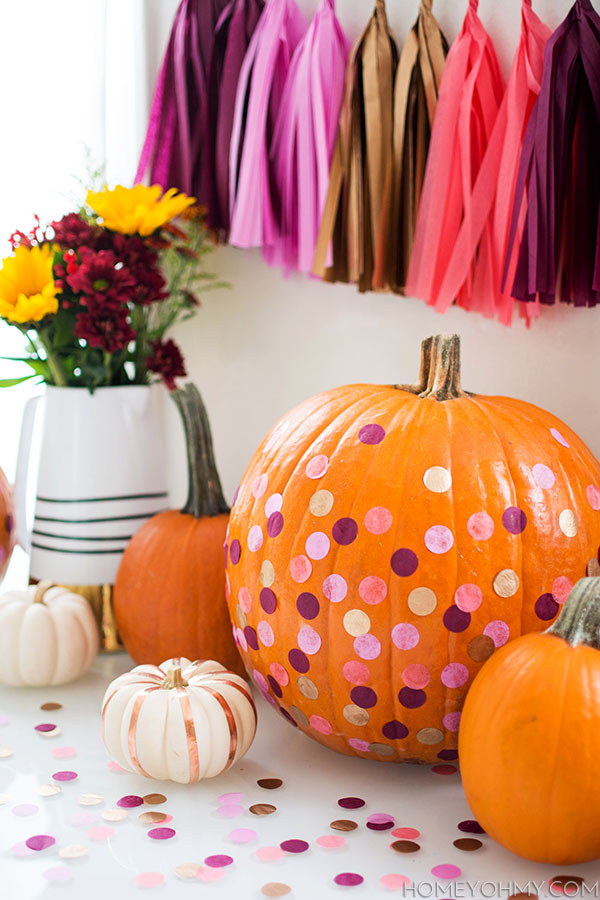
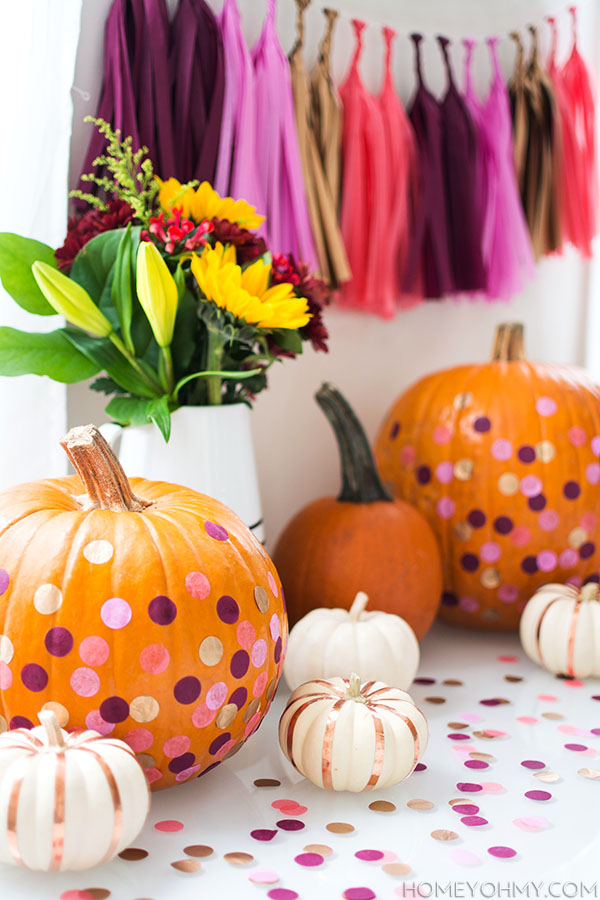
Here’s a small DIY for ya. With the bigger pumpkins, I decorated them with the Sugar Plum confetti. All it took was some Mod Podge and patience. I really did stick on each dot of confetti one by one, and it wasn’t as time-consuming as you’d think, especially because it was fun to do, I swear. The key was to apply a thin layer of Mod Podge to the pumpkin one small section at a time and work fast before it dried.
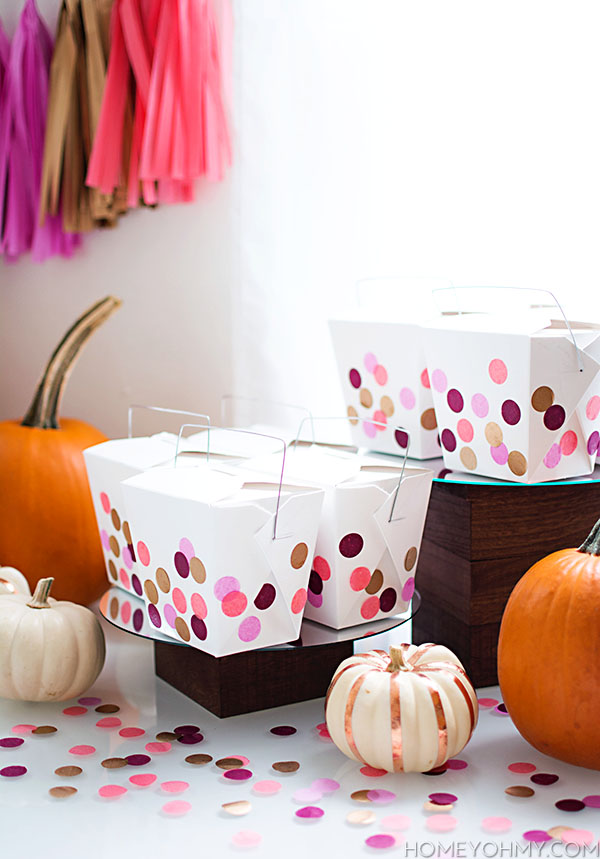 In the same way, I added more of the Sugar Plum confetti to these Chinese takeout boxes for a fun favor that each guest could take leftovers home in. Last year, we ate so much that some people, who shall not be named, fell asleep and ended up being too tired to pack leftovers. I’m hoping these will encourage everyone to not leave me with more food than I can eat in a reasonable amount of time. They’re also just so fun and cute, I had to!
In case you were wondering, they’re resting on top of 10″ mirrors that I placed on the wood pedestals I made not too long ago.
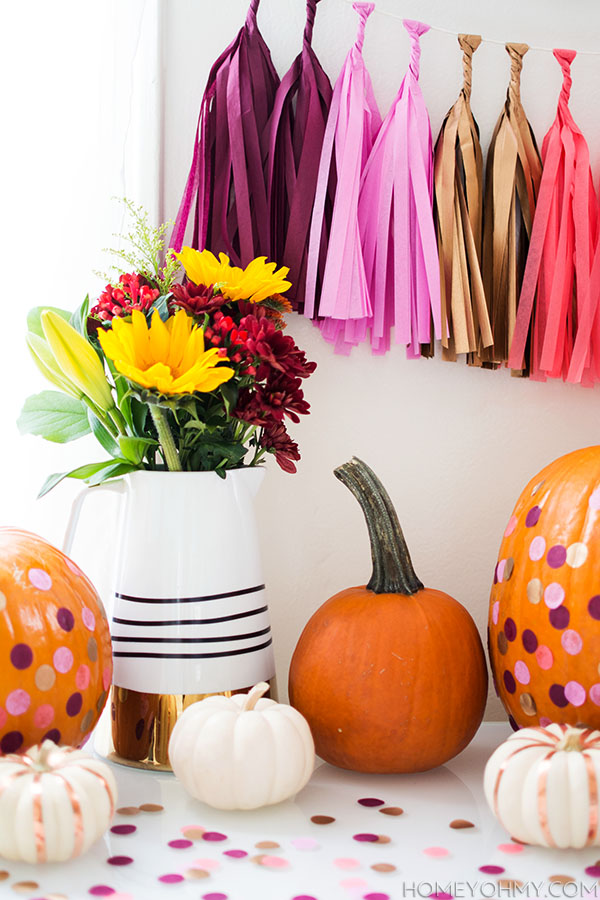 Of course, there needs to be flowers, so I arranged a simple bouquet in a pitcher. As my motto goes- when in doubt, flowers.
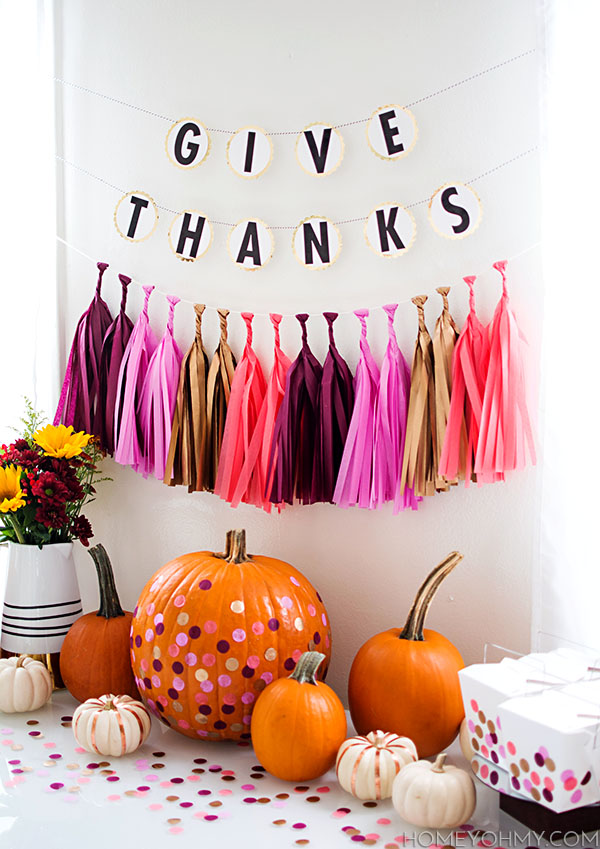 For the final touch, I
 wildly tossed sprinkled some confetti around the table and called it a day. I’m learning that I can’t not be excited for a party that has confetti. Really looking forward to this weekend, and I’ll probably be posting about the party on Instagram if you guys want to see how good my friends can cook.
PS.
I did make that “Give Thanks” garland, and that DIY is coming later this week, so be sure to come back here for that one!
This post is sponsored by The Flair Exchange. I love their unique products, party philosophy, and mission to help the homemade party planner. Thank you for supporting the brands that help Homey Oh My! keep on delivering fresh and fun content like this one! Hope you enjoyed this as much as I did <3.

Super cute Amy! Love the colors! xoxo
I love everything about this! Those little take out boxes are so cute!
So darling + I adore Carmen from The Flair Exchange!
This turned out SO cute!!! I absolutely adore the confetti sprinkled take out boxes, such a great idea.
I LOVE everything about this!!!
Ah, this color scheme is TOO good! I love that it is seasonal but modern–also I still can’t get enough of those cute little brass tape pumpkins :)
gorgeous!!! I am loving those confetti pumpkins! And we have friendsgiving every year too, its the best!!
This is just so pretty! You have a knack for making beautiful things : ]
How fun! I love the color scheme you chose :)
Can I please come to Friendsgiving? I just love this idea so much I really think I need to do something similar. And I really love the pinks and purples with the orange pumpkins!