I’m really loving projects where I get to come up with multiple designs, especially if I’m free-handing them. I originally planned on using stencils for these clay ornaments, but I couldn’t resist the fun in spontaneous doodling. I hardly consider myself a drawer though. I’m fine with drawing patterns or shapes on small scales, but not with drawing actual things that people would be able to identify like “Oh yea, that’s a cat!”
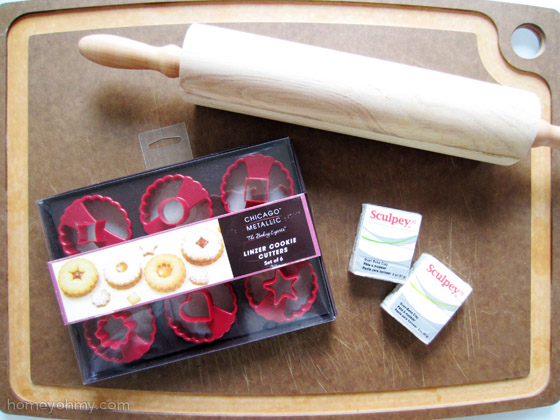
Besides the sharpie I used to draw the designs, here are the other materials.
I like how the first thing I did with my new set of cookie cutters is not make cookies. That will be a must in the near future though.
I mashed both packs of Sculpey clay together, rolled it into a ball, then flattened it out with a rolling pin. I wasn’t concerned at all about getting the clay perfectly even in thickness all around, so I just went at it as I pleased.
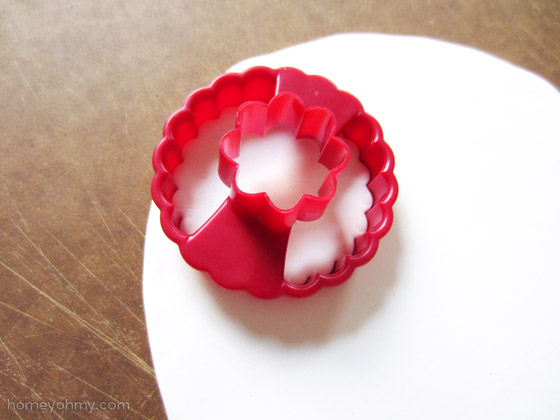
I cut out four ornaments with this scalloped circle cutter. I flipped the cutter over to cut out the hole in the center and while I hadn’t planned on saving those donut holes, they were just too cute not to include in the ornament making fun. All I needed to do with those was cut out a hole in each one for hanging, which I roughly did with a toothpick.
I baked them all in the oven at 275 degrees for about 30-40 minutes. I can’t remember exactly how long, but the key is to keep your eye on them and make sure they don’t burn!
Sharpie, ribbon, string, boom.
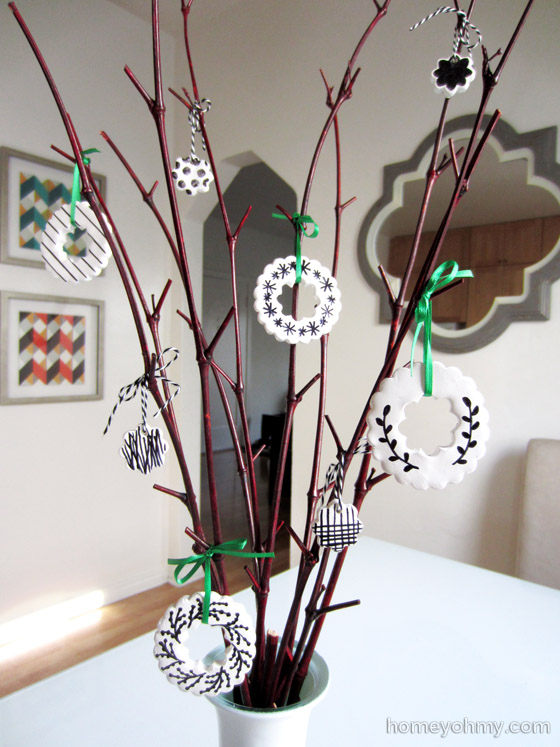
So a little oversight… I didn’t think at all about how big I needed to make the holes on the little ones and the green ribbon I used on the big ones wouldn’t fit through. I went with black and white string for them but now I’m wondering… would it be better if I just used the string on all of them? I do like the pop of green though.
Alright friends, it’s time to play my favorite game. Which one is your favorite??? I think mine is the one on the bottom with the berry branches-esque design. That one surprised me! It was one of those occasions where I had no idea where I was going with it until about halfway and then I was like yes, this is turning out better than expected.
Thank you for visiting me today and have a fantastic weekend!
Like what you see? Stay connected with me:

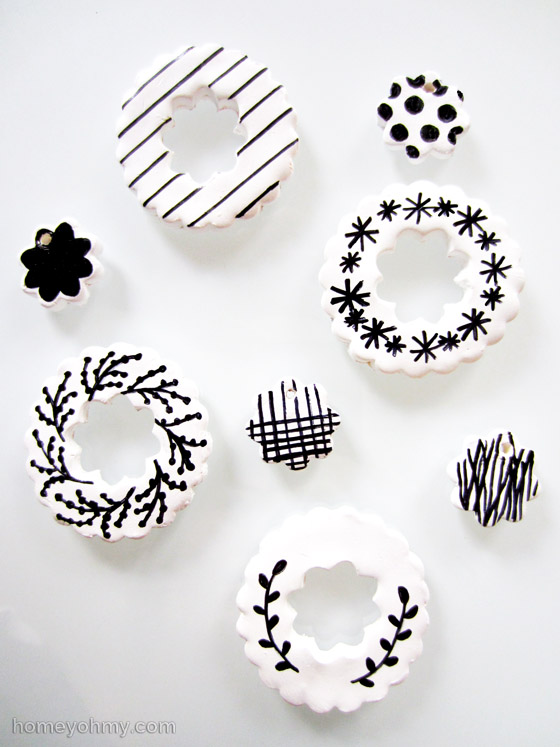



I love the checkeredish one right above that!! So genius Amy, I would have never thought to use a cookie cutter and clay!
I love the one with the berry branches too! I wish I had your fabulous creative design skills. And I love the scalloped coookie cutters, they are relatively simple but look so classic.
These are adorable Amy – pinned:)
Oh I love these with their graphic design! Very modern too. And you used cookie cutter…Awesome!
What a cute idea! It’s a tough call, but I’m going with the cute little polka dot one. That green ribbon is perfect with them too :). ps – where did you get that mirror in the background?
As always, you’re rockin’ it on these adorable clay ornaments! Thanks for sharing at our Link It or Lump It party!
These are so fun! What a great little Christmas project! And I love those cookie cutters!
I love these clay ornaments! Very pretty!
Love these! My favorite is definitely the one with the two leaf sprigs. Simple but still incredibly festive. This is a seriously great project! :D
Hopped over from the link party!
Nice!! I love the one with the random vertical lines..they kind of look like grass to me! Pretty!
Love these on your branches! I’m torn between the berry branch one that you said was your favorite and the little kind of cross-hatchy one above it. And I like the pop of green. Your whole Christmas color scheme looks so fresh!
What beautiful ornaments! I love homemade ornaments and your idea is just great.
KC
These are really creative and cute! Thanks for sharing these!
These are great! What fun doodling on them! I’d love for you to stop by this week’s link party and share this. Hope to see you there! http://www.thelifeofjenniferdawn.com/2013/12/a-little-bird-told-me-link-party-72.html
These are so great! and love the black and white. Thanks for sharing!
These are great, simple and beautiful decorations. I really like the extra touch that the sharpie added.
These ornaments are super cute! I love the black and white :)
Super cute, as usual!! Happy Holidays. xo
Great idea :) I really like the Scandi look and the branch they hang on :) I’ve got one too this year!! Have a great holiday :)
It’s Deonna from the Child at Heart blog! Thank you so much for linking up at the Merriest Blog Hop! You were FEATURED! Yay! Please keep those good ideas coming and grab a button to tell everyone you were featured :)
I just adore them, never seen a black and white version of ornaments.