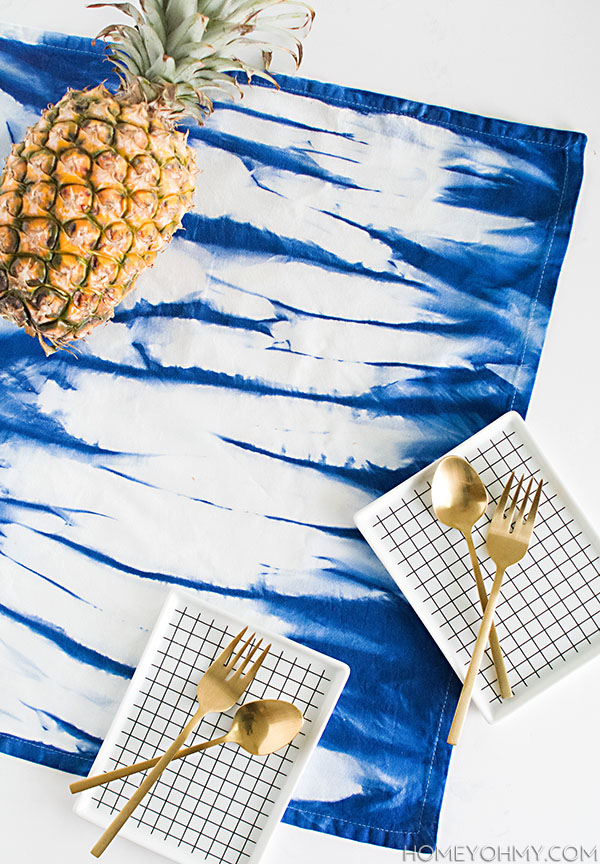
 Alright guys, it’s Inkodye napkins part two. What happened was I initially did two versions of this DIY and only posted the second version, which you saw here. Later I shared a photo of the first version on Instagram basically saying why didn’t I share this one too I think it’s pretty and you guys agreed. Hard. I was so surprised by the positive response (thank you!!) and noted that I’ll have to post about how I did napkin version one.
So here we are.
Let’s go.
Materials:
–white cotton napkins (any natural fiber will work)
–Inkodye
-bucket
-rubber gloves
-cardboard (optional, I’ll explain)
-aluminum foil (optional, I’ll explain)
–Inkowash
I recommend doing all the prep indoors away from a window. It shouldn’t prematurely activate the dye, thus you can work at a comfortable pace instead of maniacally trying to beat the sun outside (this is a lesson I learned the hard way).
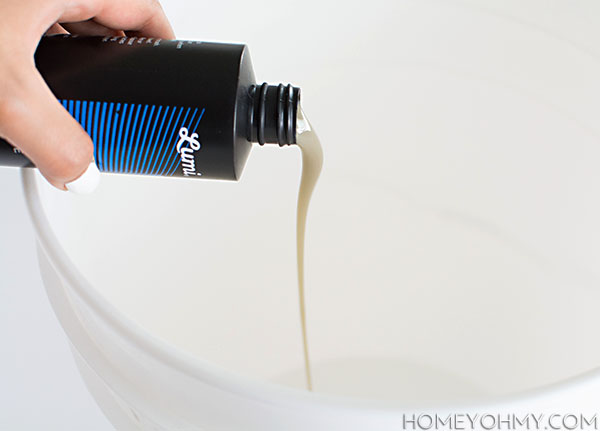 I vigorously shook the Inkodye and poured it into a five gallon bucket. The large size of the bucket felt like overkill at fist, but later I found it so helpful in terms of acting as a splash guard for later steps, so it was actually perfect. Yay.
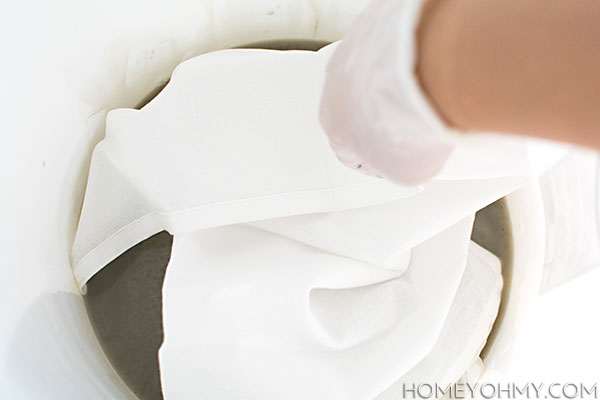 Next I dipped in a napkin and swished it around to soak up some dye, then wrung out as much of the excess dye as possible. Each napkin needs to be evenly soaked without being over-saturated with dye. Also, you can see I’m wearing latex gloves. No. Do not. They ripped and I got dye on my hands, which turned them blue AGAIN (the first time I wore no gloves, why!) Stick to the heavy-duty rubber gloves, friends.
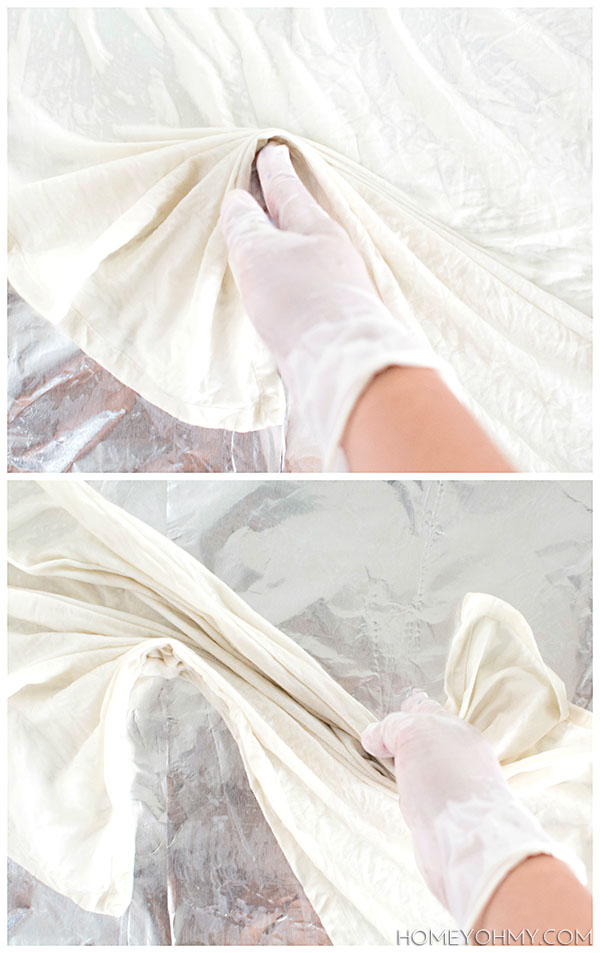 The shiny surface I worked on top of is a piece of cardboard covered in aluminum foil. I mentioned these materials as optional because it can really just be any protected, portable surface you have, but I think this is probably the easiest one to “make”. The foil is only needed if you want to reuse the cardboard for something else, which I did.
Ok, so it’s another simple folding technique to create the design on the napkins. I laid a napkin flat on the cardboard, then fashioned my hand into a karate chop position to scrunch the napkin upwards from the bottom left. I repeated the same motion but moving downward from the top right of the napkin, and then the napkin looked like this.
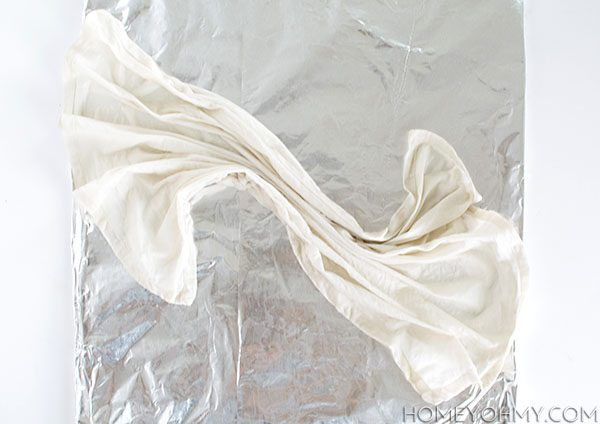 I did this with all the napkins on several pieces of cardboard, then carried them outside and left them in direct sunlight for about 20-30 minutes. The sun activates the Inkodye and turns the exposed areas blue because of magic.
I immediately threw the napkins in the laundry machine and ran them for two cycles with Inkowash detergent. They came out looking like this!
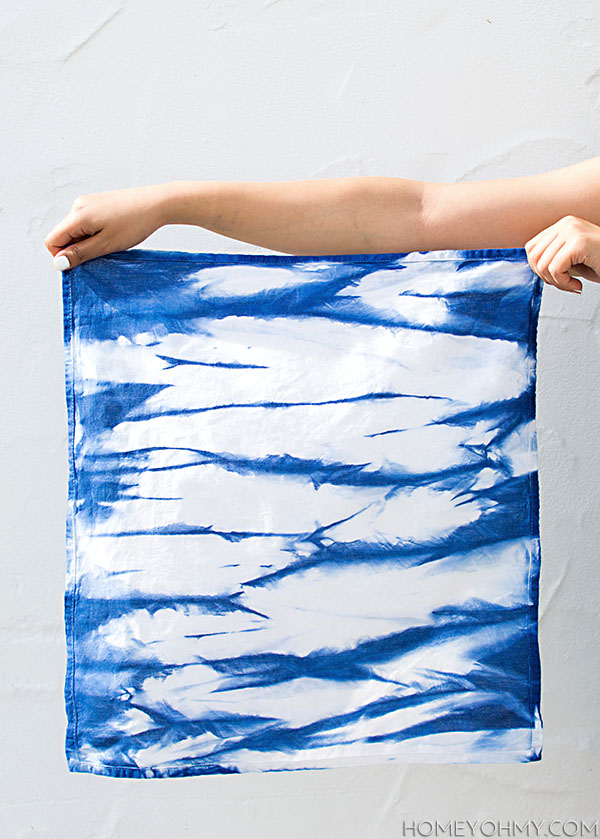
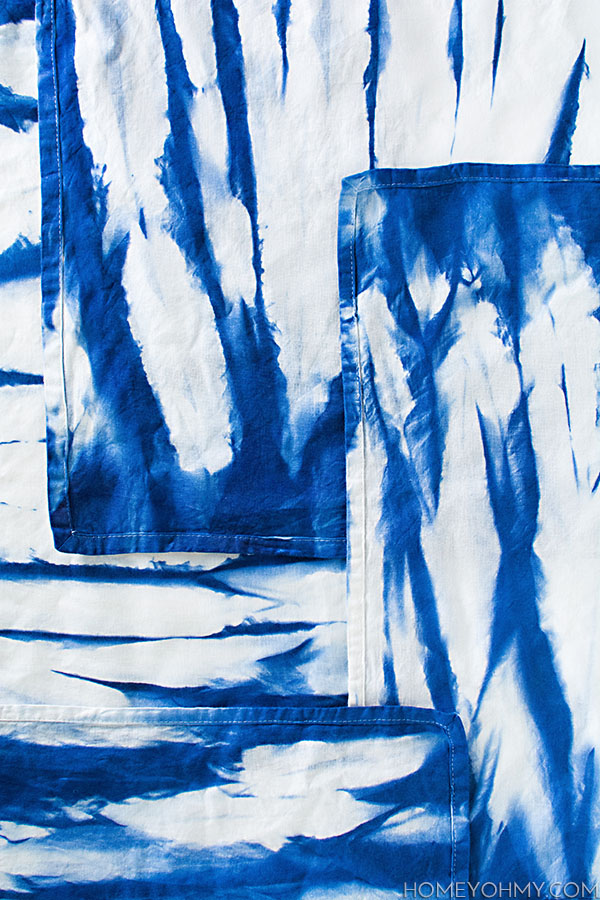 I thought I preferred the clean, straight lines from the other version I did, but I also love the wild and crazy random designs this folding technique makes. There’s also a lot more blue with this version, which really bumps up the contrast with the un-dyed white portions.
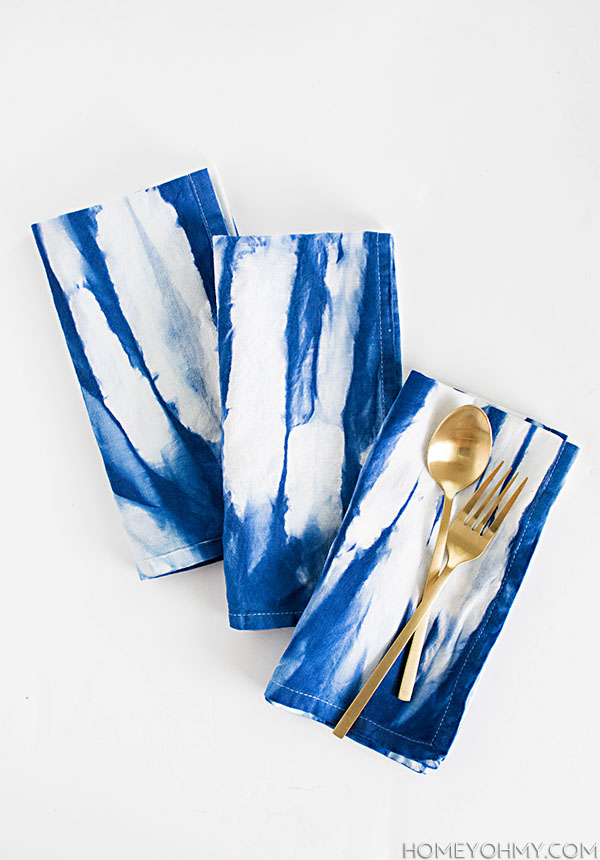
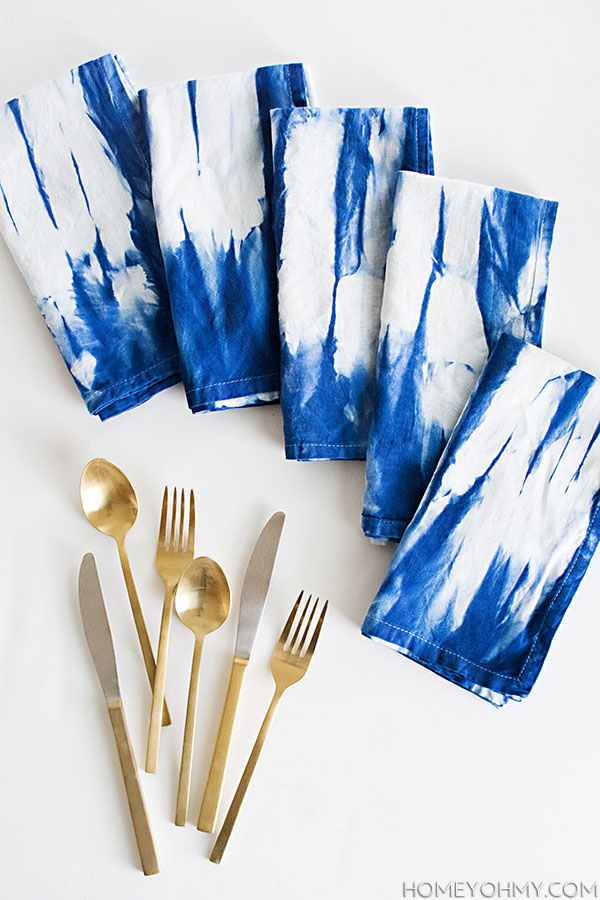 Gold flatware basically belongs with these napkins. I find this color combo irresistible, and also maybe it channels my Bruin pride.
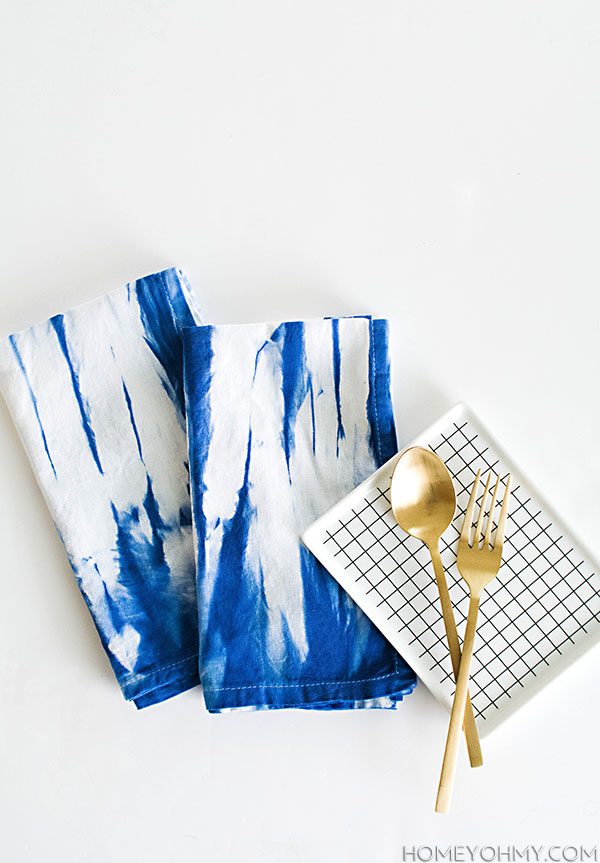 So do you prefer this version or the other version of these napkins? I’m down for anything blue, really. It’s been THE color for me this year.

How did you fold these differently to make the other napkins have cleaner lines?
Hi Ellen! You can find the tutorial for the other napkins here.
Oh gosh, I love these so much! They are just gorgeous Amy!
So so good to hear that Brynne, thank you <3
Gorgeous!! And yes, totally demand gold flatware.
Gold flatware is where it’s at. Thanks Alexis!
Amy! I love these (we actually featured the other ones in our recent post on Nautical Decor at http://www.diyjustcuz.com/diy-nautical-decor-roundup/)! These ones are just as great, if not better for how crazy & wild they are. I adore your style.
Aw thanks so much Sam! So glad you love these, and thanks for including the others in your roundup!!
Anytime! We adore your blog :)
Amy, I am obsessed with these gorgeous napkins! I love that blue–it is basically the blue I want to paint every front door in the world :)
Thanks, Amy!! I think I already knew this was something you’d love <3 And I totally share your love for blue doors, something that recently entered my obsession radar.
These are beautiful!! Would also make great gifts. Thanks for sharing :)
These are perfection Amy! Love that you used Inkodye too, very clever!
These are lovely! Just so pretty. p.s. love love love the gold silverware :)
You need to be crowned the DIY queen…I just love everything you do, it always looks so beautiful and stylish!
AW, I wouldn’t be able to accept such a high honor haha. You are so so sweet, Gilly, thank you!!
I like the two versions, I think they both have their distinctive vibe!
They do! It’s still hard for me to really decide between them.
Thanks, Nina!
Hi Amy, Could you please tell me – how much inkodye did you need to use to produce these 5 napkins? I want to try this at home and not sure how much I need to get.
Did you use a lot more of the product on these napkins given you submerged them in the dye vs. the ones where you used the roller?
Hi, Melissa! I used one bottle for the 5 napkins. I used more of the product with the roller method. The roller soaked up a lot of the dye and it would get difficult to disperse it out. The thing I disliked most about the submerging method is that the fumes are really strong, so be careful when standing over the bucket.
Thanks for the great questions, and good luck!