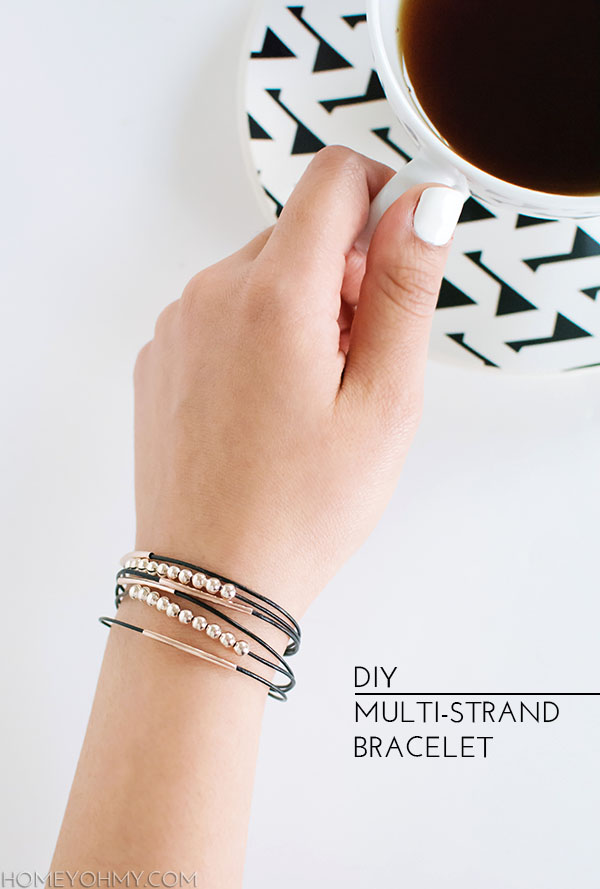
 Something reeeally different around here today. It was originally unplanned, which means there’s a story behind why it even happened. Oh ok, I’ll tell it to you!
It started somewhere completely unrelated. I had this elaborate idea to spray paint a bunch of stuff in a layered design. I spent an entire Saturday, 9-5, failing at it twice (a lot of that time was waiting for paint to dry and what not, so I kind of made that sound dramatic but still, the whole day was lost). I made one final attempt to adjust techniques and try it again the following day, and it just wasn’t working. During that final attempt, I managed to ruin one of my favorite bracelets because I was wearing it while spray painting. Apparently I needed to learn this lesson: THIS is why we don’t bedazzle ourselves when we spray paint, mmk?
So I was already on the verge of a meltdown because of how big of a failure that weekend was, then I go and ruin my bracelet and start to question the purpose of life. It took a minute, but I came to and remembered that it’s just a bracelet, it can be replaced, or hell, maybe even made. It’s not all that complicated of a bracelet. Hm.
Materials
–round leather lace
-scissors
-clipboard
-two needle nose pliers
-round metal beads (4mm)
–Mod Podge
-Q-tip
-curved tube metal beads (2mm x 25mm)
-end caps (10mm)
-lobster clasps (14mm)
 I found everything at JoAnn, and at first I was positive I’d go gold, but then I walked past the rose gold beads and immediately changed the plan. The end caps I used are yellow gold because there weren’t any in rose gold, so I rolled with it. Also, please ignore the crimp tubes. I thought I’d be using them like beads, but ended up not, so #bloggerfail.
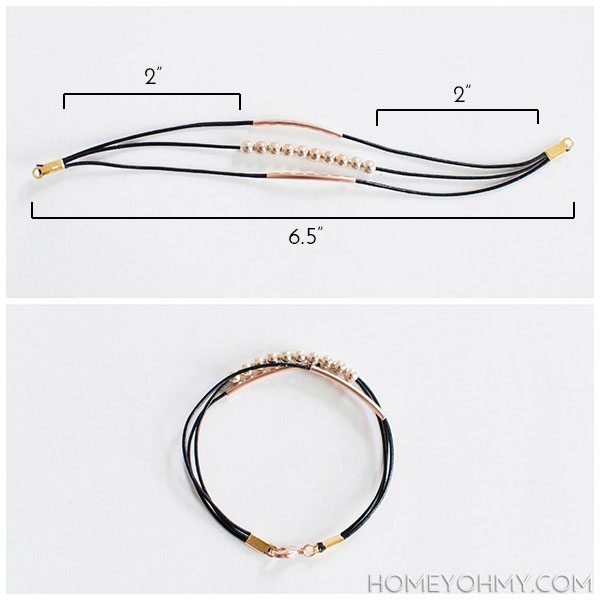
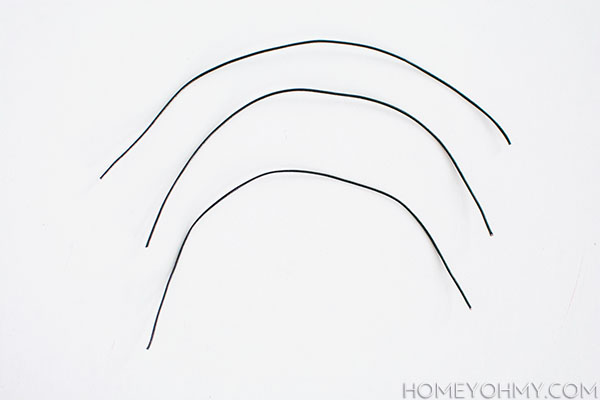 I made two bracelets with three strands each, but we’ll just talk about one bracelet from here on out. I cut three, eight inch strands of leather cord. My wrist is six inches around, so I roughly measured eight to give some room to work with it.
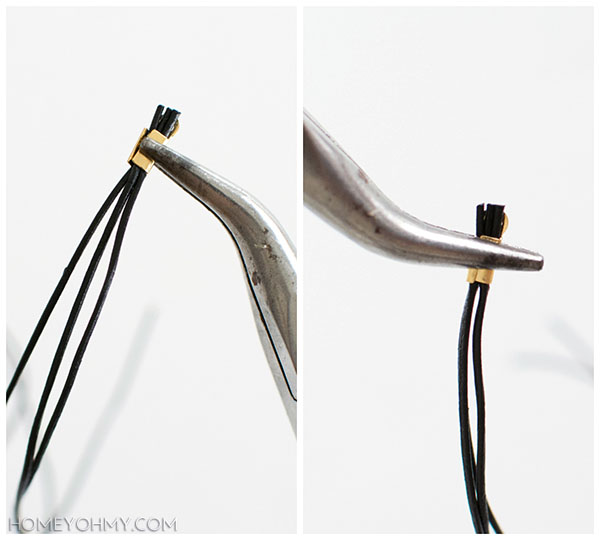 I bunched the leather cord strands together at one end and crimped on the end cap, squeezing super super super tightly with needle nose pliers. The cap had these flaps on each side that needed to be bent over one on top of the other. After doing that, I cut off any excess leather cord (as seen above, sticking out beyond the top of the cap).
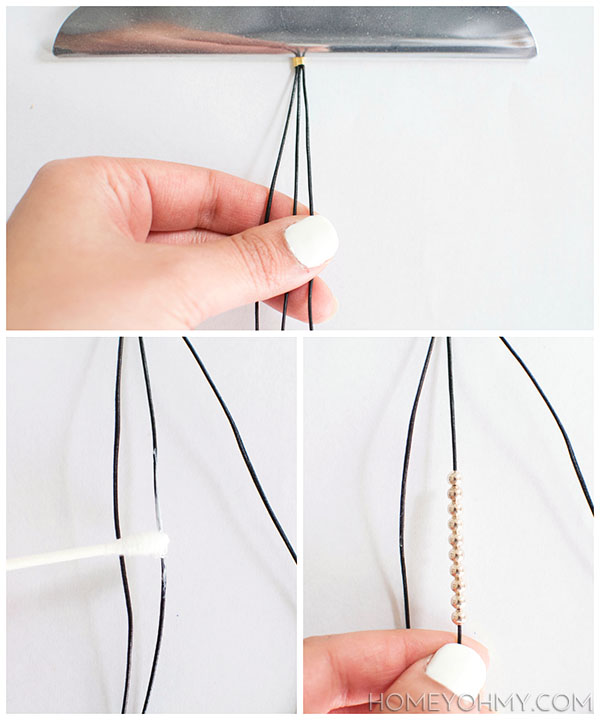 For the next part, I used the clip of a clipboard to help keep the bracelet in place. Now this next step is a little weird, but I had to do it. On the middle strand, I applied Mod Podge with a Q-tip along the center of the strand before sliding the round beads over it. A couple beads at the end needed more reinforcement so I slid them off, applied more Mod Podge, then slid them back on, wiping off any excess that oozed out.
I did this because I wanted the beads to stay in place instead of always sliding down to the clasp. On the outside strands, I slid on one curved tube bead each, but skipped on the Mod Podge part since those beads don’t slide around as much and I was cool with that.
I clamped on another end cap at the end and cut off the excess leather, just like I did in the first few steps, and then was left with this.
 For that lobster clasp, it’s very simple.
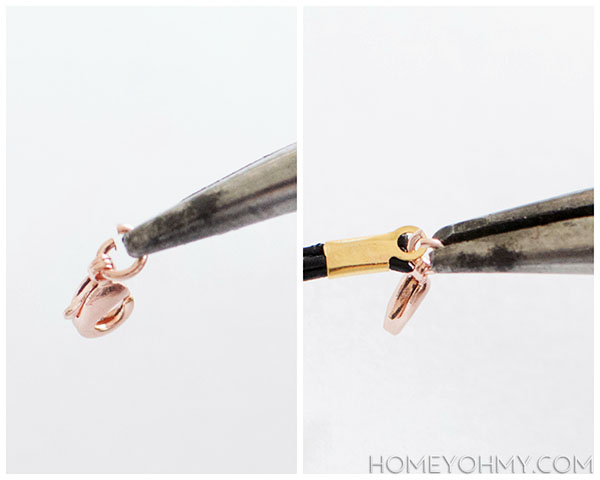 This is where the second pair of needle nose pliers comes in handy. I didn’t show it in the photo, but I clamped each plier at opposite sides of the jump ring opening and bent it open. Once upon a time I thought it was a pulling apart motion, but no, it’s a sideways bend. Once hooked through the loop of an end cap, I bent the ring back shut in the same way. Then all was good in the world.
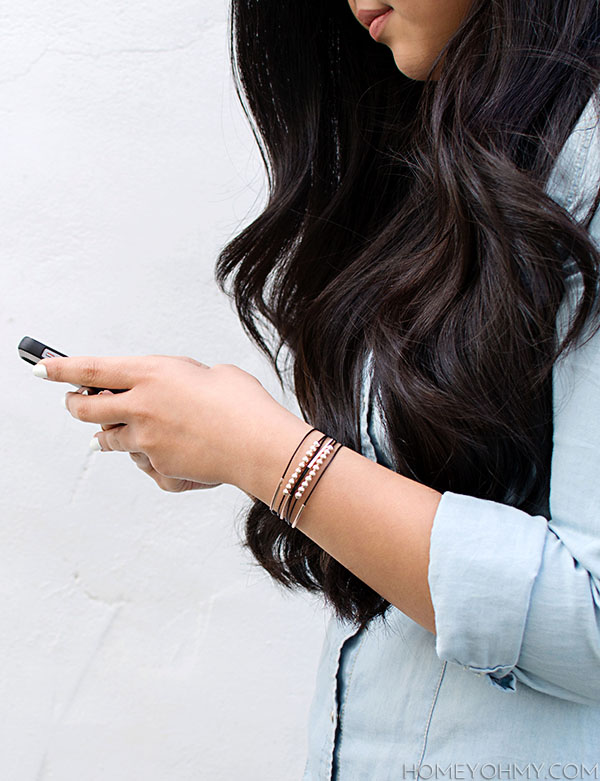
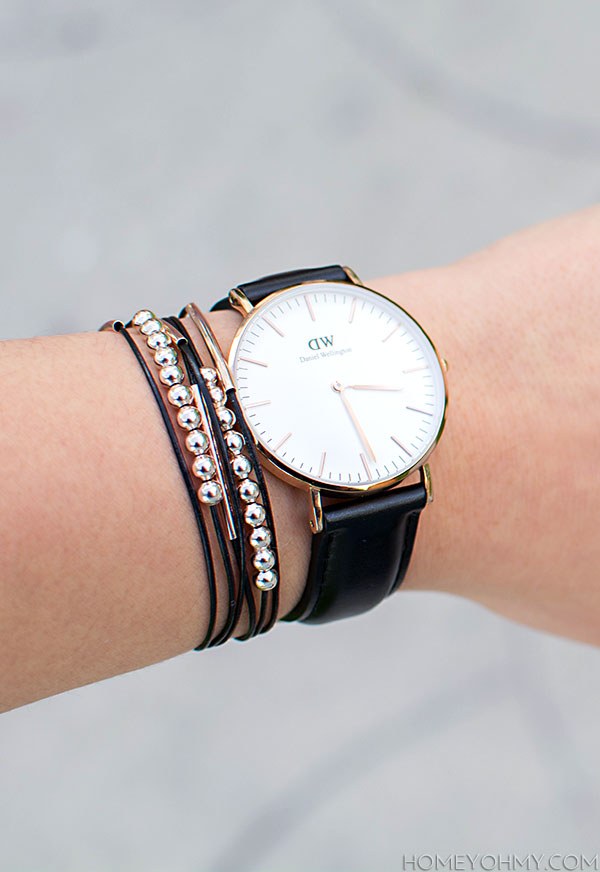 At any given moment these days, you’ll find me wearing this combo. I love the way the bracelets look with my favorite watch ever and how they keep to the simple and minimal feel. With everything lately, I find myself gravitating towards simpler things, “less is more”, all that jazz.
So that was the first jewelry DIY on this here blog. ! I’m not planning on making it a super regular thing, and this one was definitely more about something spontaneous for me, but I’m still interested to know how you feel about it. Yay or meh on jewelry/fashion DIYs?
**ALSO, if you missed my previous post about the BHG Blogger Awards, the voting round this week is focused on DIY blogs, and yours truly is nominated (nope, haven’t stopped freaking out about it). If you’ve enjoyed any of your time here on the blog at all, I’d so appreciate your vote :) and of course, vote for all your favorites since you can vote more than once. If you have a few seconds, you can vote HERE. Thanks guys <3

so lovely! the simple makes are always the best and most effective!! <3
Thank you! I wholeheartedly agree :)
Holy frek these are fantastic!!
You. <3 Thanks, Kat!!
Love!! How much did you spend on the entire project??
Hi Veronica! I already had the tools, so just for the bracelet parts, I spent somewhere between $15-20. Thanks for your question!
So, so beautiful Amy!
Thank you thank you, Rachel!!
Yes to the rose gold! I agree. Something super special about that shiny, pinky goldy loveliness. Love it! I’m off to get voting for you now :)
Yesss, something about that subtle pinkyness! Thanks so much, Fran, and THANKS FOR VOTING!!
Love the bracelet! Also, I MUST know where that watch came from, it is perfection!!
Thank you, Chelsea! The watch is by Daniel Wellington, you can see it “>here.
It’s so nice! Actually diy jewelry is a great thing because you can create one to match your style instead of searching something you need in a store :) thanks a lot for your ideas!
Very true, and worth the extra effort just for the customization possibilities. It’s why we DIY! Thank you, Irina!
oh my gosh YES! more jewelry MORE!
So pretty! I love simple pieces like this, and you explained the DIY so well. I rarely wear bracelets because I have stupidly skinny wrists and everything just ends up looking weird, but these are so cute I may just have to try it. They look so pro!
This is really cute! Brilliant idea with the Modge Podge, so the beads don’t slide!
Pinned it :-)
Hi Amy!!!!! Just loved ur work!! Can u suggest me a substitution for leather cords?? It’s not available here… Keep up the good work
Hi Anshika! You could try suede lace or parachute cord. Thanks so much for the kind words!!
Hi,sweety, love love this brcelet,I’m going to try doing it, hope it turns out as pretty as yours. keep up your beautiful idea, cause they’re worth it. Thank you so much, France