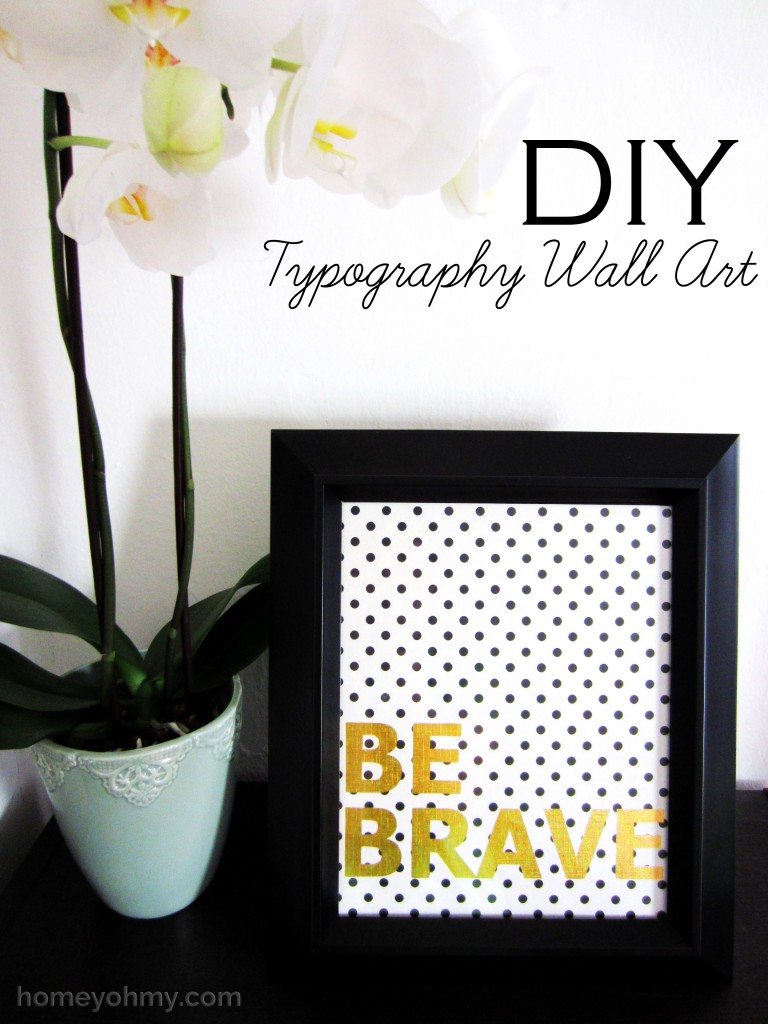
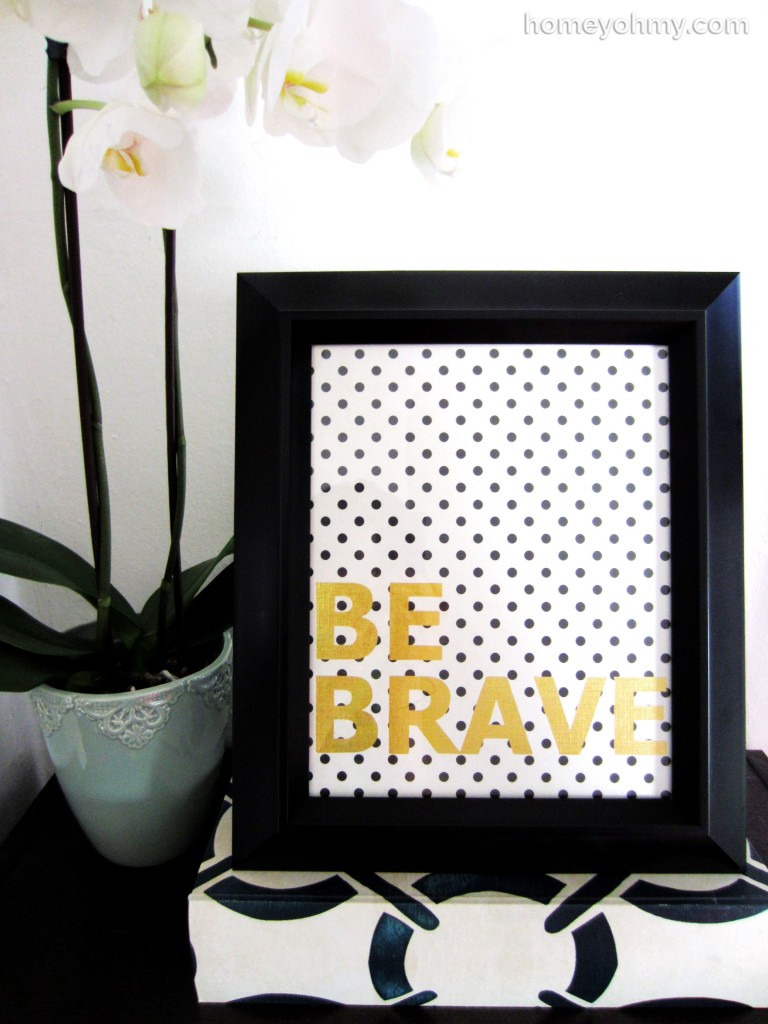
With typography art, my criteria is that it should be simple and something that I will probably never get tired of looking at. Although the latter can’t always be accurately predicted, I try to stay true to messages or themes that are close to my heart. I’ll explain more on that at the end of this post, but for now let me show you what I came up with.
Straight to the point, just how I like it :).
I started out by typing the words “Be Brave” in a Word document and played around with fonts and sizes. I went with a bottom-left alignment and adjusted the margins accordingly. To make this project easier, I chose an 8×10 frame so that it would closely match the size of a regular sheet of paper.
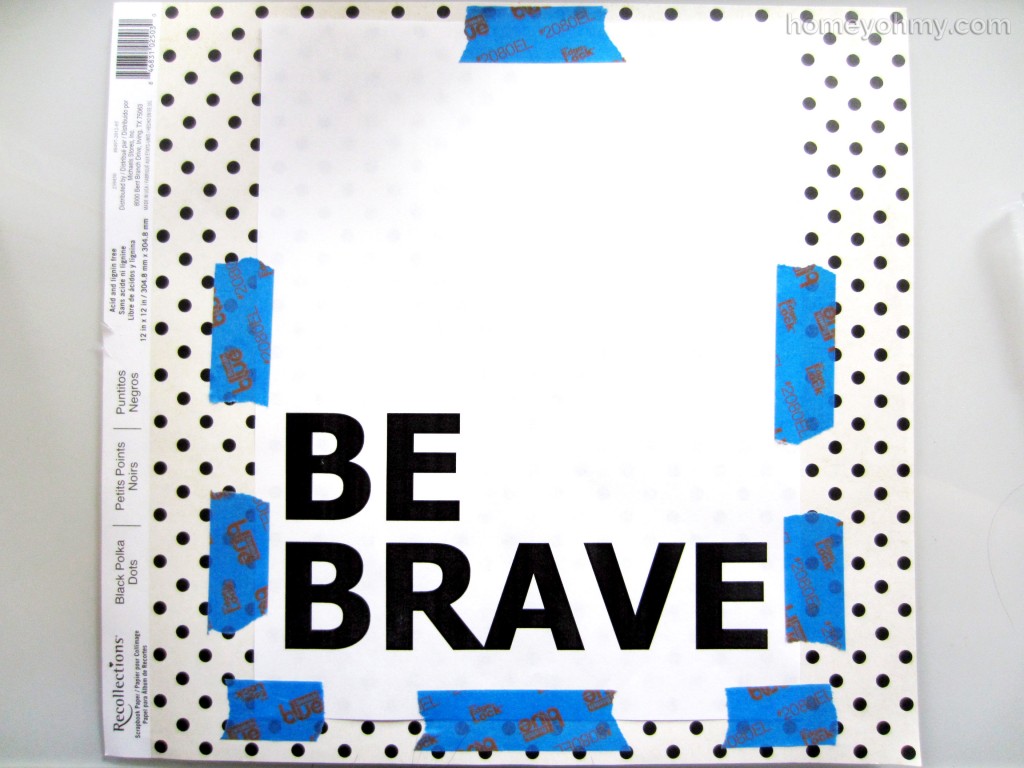
After printing out the Word document, I used painters tape to attach it to a sheet of polka dotted paper.
I added extra tape around the words for more stability since that’s where I would be cutting. Using an X-acto knife, I first cut out any holes in the letters (in this case, the holes in the B’s, R, and A) and saved those for later. These are floating pieces that will need to be added back in at the end.
*A little tip for cutting with an X-acto knife- Especially if your blade is fresh, you don’t need to apply much pressure to cut through both sheets of paper. I have a tendency to press too hard with my knife and it can end up warping the blade, making it more difficult to cut in straight lines. Practice first on a scrap piece of paper to become familiar with how much pressure you need to apply and try to keep it consistent.
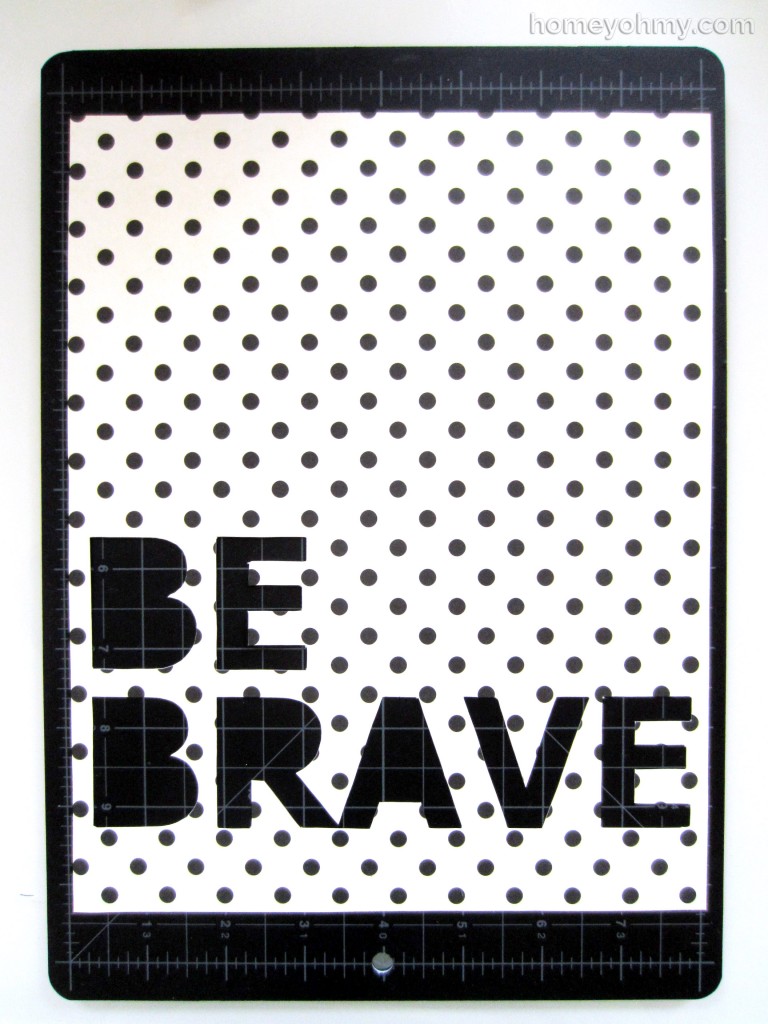
After cutting out all the letters, I used scissors to cut the polka dotted paper along the edges of the paper taped on top. Removing the paper on top, I was left with this cut-out.
Since a sheet of paper is 8.5×11″ and my frame is 8×10″, I had to cut a little more off of the edges so that it would fit in the frame. After adjusting the cut-out to the proper size, I traced the edges onto some gold paper, cut out the gold paper, and then glued the polka dot cut-out on top of it with a glue stick. The glue stick only needed to be applied on the edges and not on the entire back side of the polka dot cut-out.
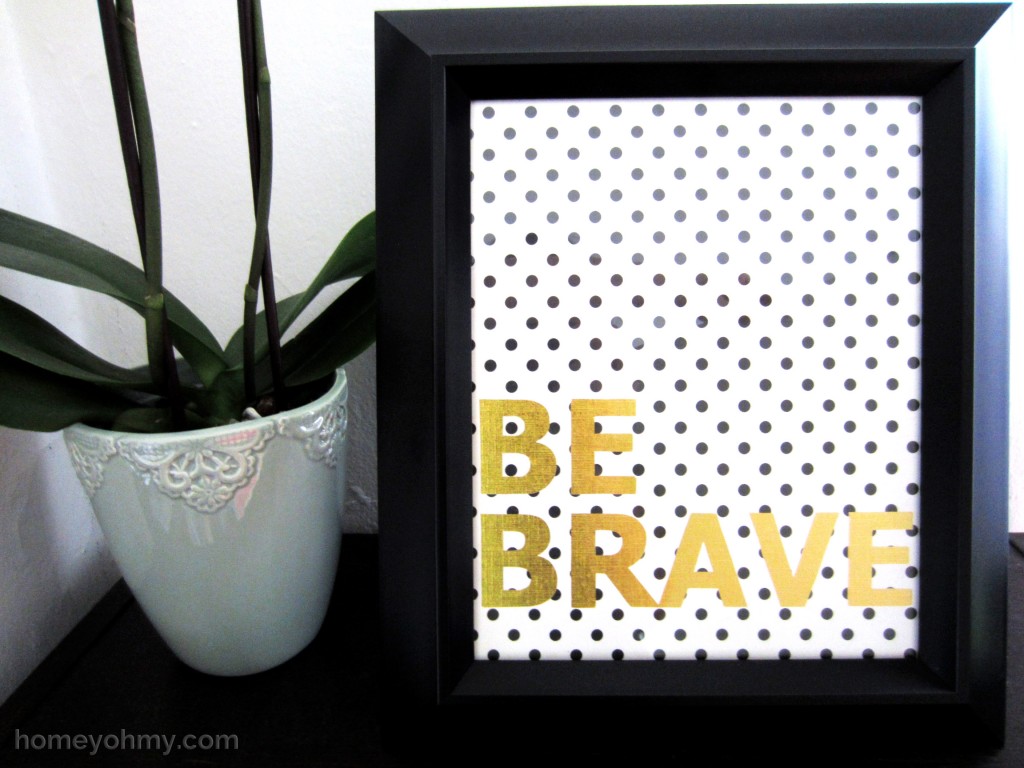
With the glue stick again, I glued on the floating pieces I saved from earlier back into the B, R, and A letters (on top of the gold paper that is now peaking through the letters). While the glue is still wet, it makes it easy to slide the pieces around after you stick them on, so you can take the time to accurately adjust their placements. I used my finger nail to make the tiny adjustments. Once that’s dry, all that’s left is to put the art in the frame.
Black, white, gold, AND polka dots?? Instant love for me right there. The gold paper has a linen texture ,which you can kind of see in the letters that are shadowed a bit. It’s not showing as well in the photos as I would have liked, but trust me- it’s pretty! I’m so pleased with it.
So why the “Be Brave” choice of words?
I’ve talked a lot with a good friend of mine about what it takes to share your creativity. We agreed that expressing your ideas and vision is like baring your soul. Your creativity is one of the most precious and personal things you own, and to expose it to the subjective views of strangers can be just plain scary. Still now, I’ll sometimes feel a bit of that fear before I click the “Publish” button on a new blog post.
I spent a long time being afraid of starting this blog. I want to say years. While there’s a long list of reasons why, the heart of it all was that I simply didn’t think I could do it. As I read over that now, as the creator of this blog that has become one the most amazing endeavors of my life that I cannot live without, I’m wishing I could travel back in time to tell the old me that there was nothing to be afraid of.
Looking at this artwork, I’m reminded of how I got here and what I need to do to keep going. As short as the words are, they swell me up with confidence and inspiration. I smile not only because I’ve accomplished these words, but also because of the powerful things some paper and an X-acto knife can make me feel ;).
To my friends, fellow bloggers, loyal readers, and new visitors, all of you who I cherish so deeply, thank you for helping me see that I have something of value to share. In the spirit of this upcoming Thanksgiving holiday, I want you to know how grateful I am for your support and positive vibes. You all have made me more brave.
Like what you see? Stay connected with me:



Beautiful post & project as well, we do have to be brave to share, agreed! xo
<3
It does take a lot of courage to put yourself out there, but it is so worth it. I am so glad you took the leap!
I feel like I probably could have written this post. I first thought about starting a blog back in 2009 and it took me 4 years before I was brave enough to just do it. I love your blog. You are so creative and share projects that everyone can enjoy!
I continue to be impressed by your stencil-making techniques. And I know exactly what you mean..I still have trouble telling people about the blog out of fear of what they might think of it (and me). I need to make one of these for myself, obviously :). I’m glad you decided to go for it. You are super creative and talented, I always look forward to your projects..thank you so much for sharing them!
LOVE IT! You are so brave and so talented. I’m so *thank*ful you are sharing this and all your work with us!
Love this! Really, really cute!
It is scary to put yourself out there! But you share amazing projects- so glad that you decided to ‘be brave’. Love your typography art:)
Beautiful project! Reminded me of Kate Spade!! (The designer)
Totally agree. I told Oliver that hosting a blog is very similar to hosting strangers at your house. And a mean, unconstructive comment is comparable to that same stranger shitting on your face once you’ve been nothing but pleasant to them. We’ll be here to stop the trolls :)
Love the art! I remember telling my husband when I first started blogging how scary it is putting yourself out there! Then I finally realized you just can’t care what people think. Thanks for sharing!
Really Really cute! http://www.handmadeintheheartland.com
Love the artwork! And the sentiment behind it makes it that much more special. Great job and very inspiring.
I stumbled on your blog by finding the no-sew pillow cover DIY and have managed to spend the last hour perusing through the rest of your lovely DIYs. This one is by far my favourite and I think I will have to incorporate this into my wedding decor somehow (wedding colours match exactly!).
As you said, black, white, gold AND polka dots?!?!? Instant love.
Love the mantra as well – sharing your creativity is absolutely like baring your soul, so thank you for sharing yours! New fangirl right here!
Aw Jennee!! This is so amazing to hear. I’m happy you’re finding inspiration for your wedding, and that you’re enjoying my projects <3. Thanks for taking the time to let me know!
I so love your blog. I found this posting today and I can not thank you enough for sharing these words. It was truly what my heart and soul needed to hear. Thank you so much…I will be brave!
Wow you should be so proud your blog is amazing and inspiring.
I’ve been so scared to start a blog myself and sell my own crafts, this has helped to show me I’m not the only one.
Thanks Amy!